Thursday 31 May 2012

Dress Update

Just another quick update on how my dress is coming along so far I have pretty much completed the outer dress I just have my lining to complete and sew in and the shoulder piece and Im ready for fittings week.


Thanks for reading!

Jenny xxx

Marilyn Photoshoot Images


In a previous post I posted the making of my Marilyn Monroe style dress, I finally got some images back from the photographer and I'm really happy with the out come. 


I think that this is my favourite photo he gave me. 


This is the image the photographer Paul edited, I will definitely be getting this printed for my portfolio.

Thanks for reading! What do you think of the photos??

Jenny

Dress Update

Another quick update on how my final dress is going with some images


Here I used pink thread when I should have used white, I unpicked this and resewed the line.


these flower shapes are to be cut out of the fabric.


Thanks for reading! I will be posting more often when I have an Internet connection at home!

Jenny xxx

Monday 28 May 2012

Toiling for my Final dress


Over the past few week I have been working on patterning and toiling for my final dress, I thought I would post some pictures of my progress.


here is my pretty much finished toile I just need to figure out how I am going to add the shoulder piece and fix the hem

Thanks for reading! 

Jenny xxx


Monday 21 May 2012

My Illustration Board

For My last brief of the year one of my tasks is to create an illustration based on my final design, as soon as I had finished my design and researching other illustrators I had a(kind of) clear idea of what I wanted to do. 

Illustrators that I have used as inspiration are Nadia flower(top) and Montana Forbes(bottom). 


I started by taking an Image of Hyorin from a kpop band Sistar


And then drawing around her head and hand on photoshop 

I then went through loads of resizing, drawing and scanning to add a figure to match the head. 

I then spent around 3 - 4 days editing, colouring and experimenting and so far this is the illustration I have created mostly on photoshop.


At the moment I'm still a bit sceptical about some of this illustration, I have a feeling that this problem is going to occur quite frequently, this may or may not be my final illustration (just looking at this I can see things that need retouching!) 

Thanks for reading! What do you think of my illustration?? 

Any feed back would be a huge help to my annoying Indecisiveness!!

Jenny xxx


Wednesday 16 May 2012

Making a Marilyn Monroe Style dress

A few weeks ago one of the first year photography students asked me to make a dress for one of his projects, with help from my tutors. The original image he worked from was by Nick Knight .

I had to recreate the dress based on this image 

As I already finished any outstanding work and independent projects I had time to make it for him, we decided to make the dress in two pieces as it only had to look similar to the original dress on the photo, the first thing that we toiled was the top section.


To do this we draped the fabric over a mannequin that was (sort of) a similar size to our model and cutting  out the shape that we wanted the top to be. Once I had this shape I then drew around this on pattern paper including the dart and a 1cm seam allowance. I then cut 4 of these out so each side had a lining, I sewed all of the darts and then the two pieces together for each side and then bagged them out.
I then pinned then to the mannequin and sewed a line at the bottom to hold the two sides together. 


For the skirt I borrowed a circle skirt pattern from one of the degree students and then used this to make a double circle skirt by sewing the pieces together at the side seams.


Once I finished the toile we found we had to add a long waist band as there was a gap at the waist so I made a pattern for that based on my models waist measurements, then the photographer gave me the money to buy the fabric. 


To save fabric I cut out one piece of the skirt out at a time and then placed the next piece as close as possible going in the opposite way as the previous piece to save any wastage 


I then sewed the skirt together adding a concealed zip in the centre back. 


I then sewed the waistband together using two layers as the fabric is very sheer.


I then pinned and sewed the waistband to the skirt 


Then I used one o the domestic overlockers to sew a really small overlocking to hem the skirt


After I finished the dress I tea stained the fabric for a few seconds as I didn't want to wreck the dress by  making it too dark. 


I then hung the the pieces out too dry, unfortunately I started to hail  shortly after(so dedicated I even fell over bringing these in) so I let them dry over a chair by the heater.


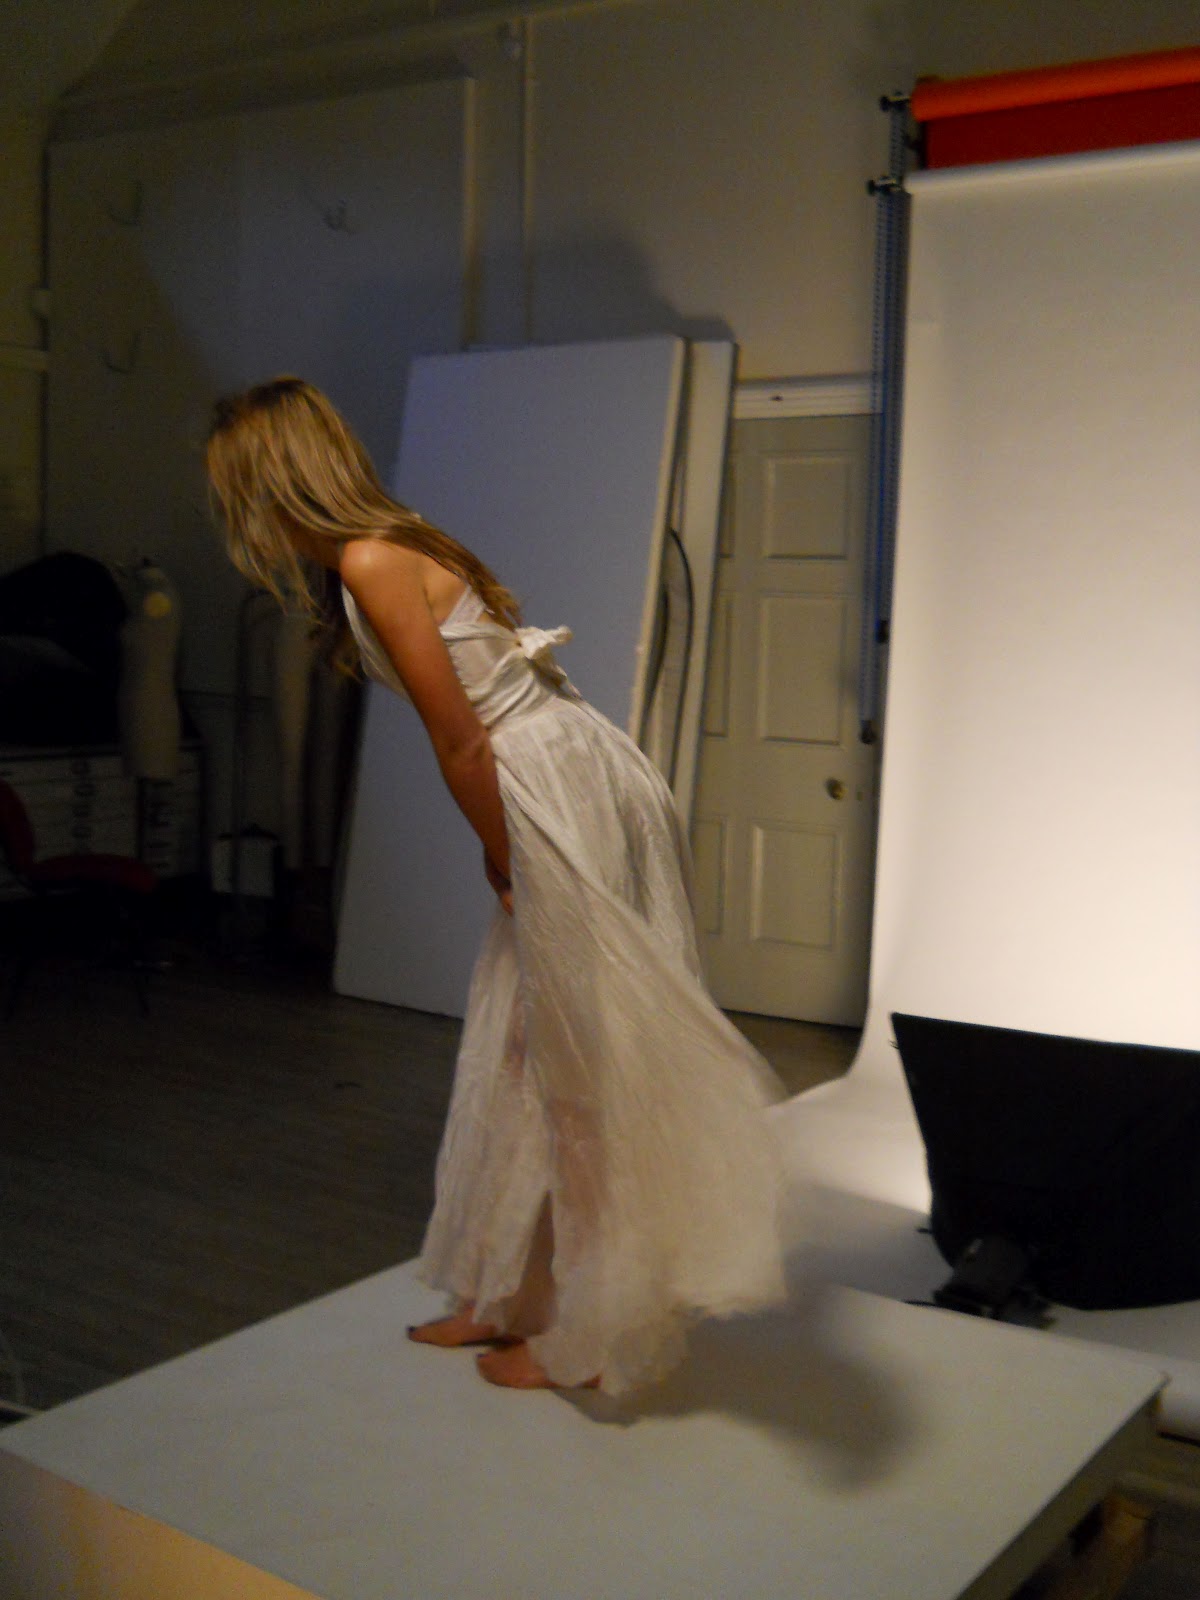
Sneak peck at the photo shoot :


The photographer is now editing the photos and I will post as soon as he has sent them.

Thanks for reading! 

Jenny xxx

Related Posts Plugin for WordPress, Blogger...