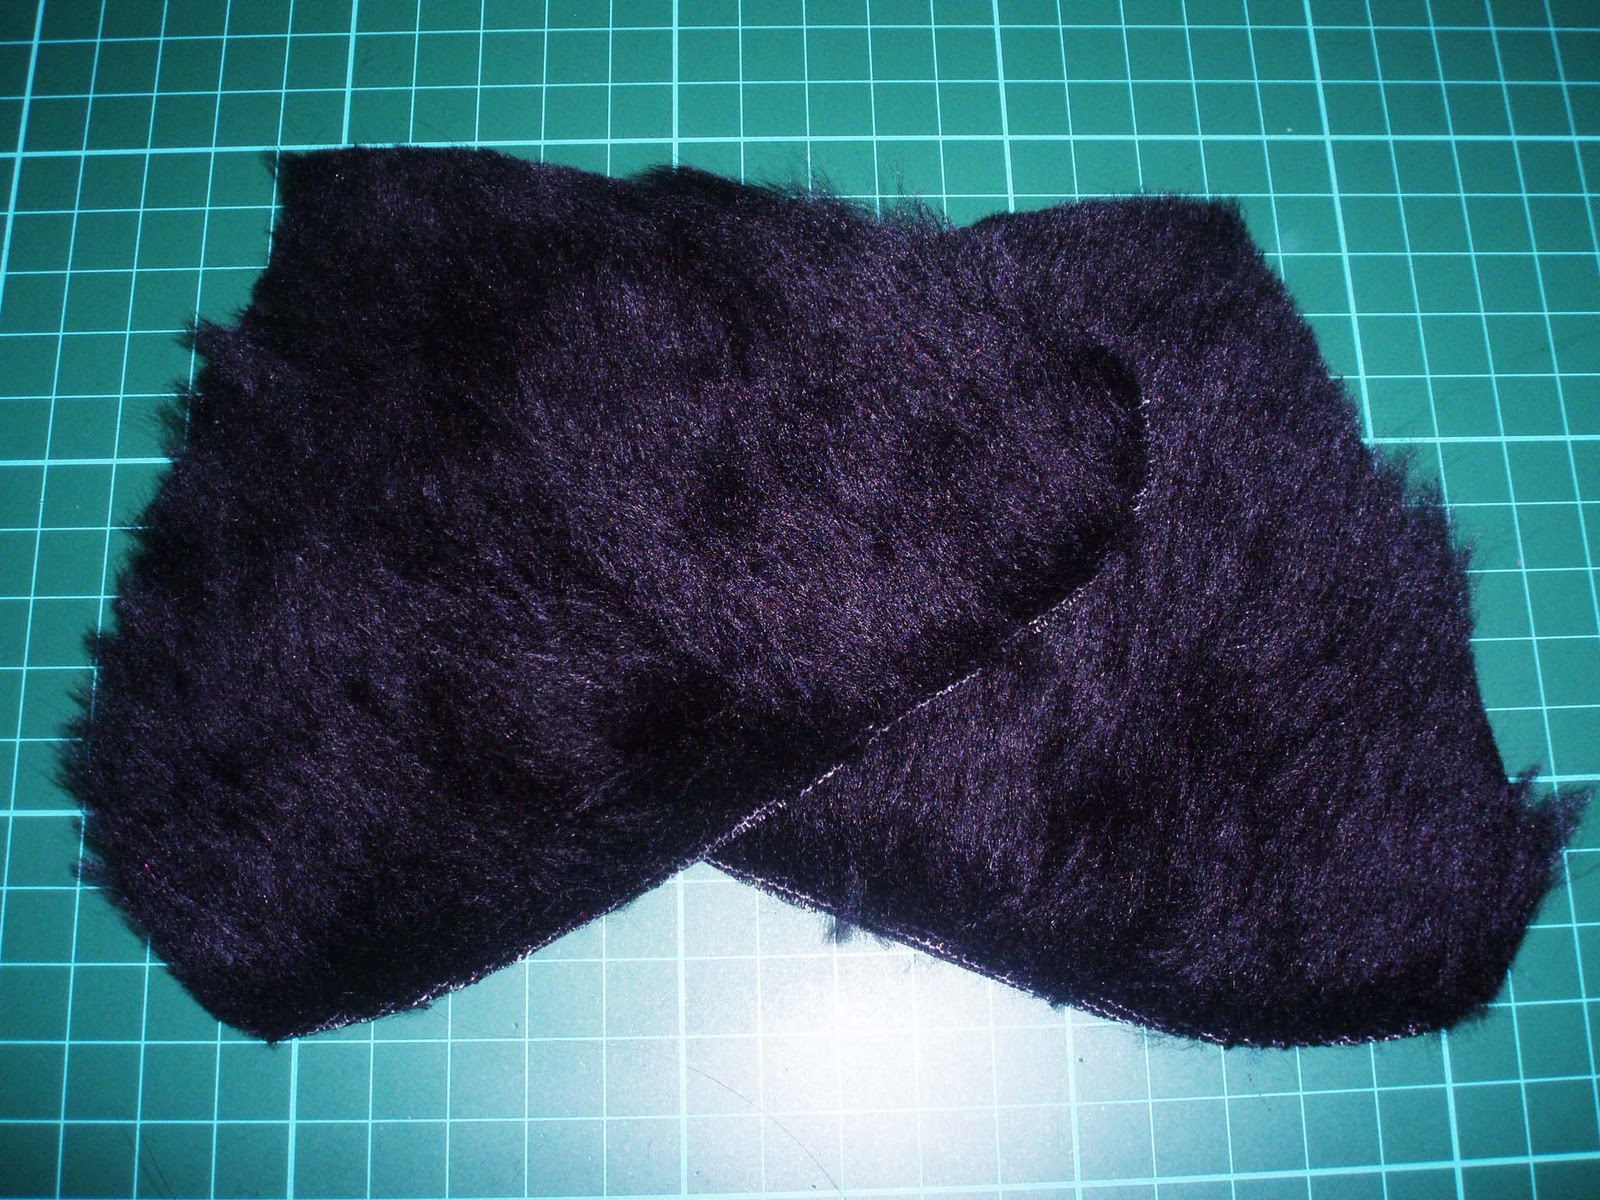
I love cats (although I'm allergic) and this is and impossible goal, I can't show you to actually be a cat but I can show you how to resemble one.
In case you haven't noticed this DIY post is how to make cat ears, there super cute and very comfortable. These cat ears will be great for Halloween, costume party's and anime conventions.
- Get your self some faux fur from your local fabric shop, remember faux fur can be quite expensive so if you only plan on making one or two pairs then get no more than half a meter.
- You will also need some lining fabric, any colour of your choice.
- (optional) Decorations of your choice (bows, ribbons, beads etc.)
- fabric scissors (normal scissors will get blunt if used on fabric too often)
- Needle and matching thread to the FUR
- Super glue/hot glue gun
- Head band or hair clips
- Thick paper or thin card
If you want your ears to look more realistic then get fur that matches your hair colour and a peachy pink lining fabric. This may seem very long winded, they are very easy to make there just hard to explain.
Help - In case you get confused later on you can refer back to this:
there are two sides to the ears Front(the side with the lining) Back(the side with the fur)
the top of the ears are the tips
the bottom, the same end with the seam in step 6
Step 1
Get your card or paper and draw out a rounded triangle shape for the cat ear similar to the picture below, remember to make this a little bigger than you want your ear so that you have enough seam allowance, this will be your pattern.
I would advise labeling the top for later on. Make as many as you want i made 4 for each piece of fabric.
Step 2
This part is hard to describe so read carefully and pay attention to the picture. Just like a cats ear the fur should be moving to tip, see which direction your fur is going and place the fabric fur side down on your surface with the fur in the direction of the big red arrow. Then place the pattern on the top and pin them together.
So the top of the pattern should be in the same direction of the fur.
Do exactly the same for the lining fabric
Next cut out the fur and lining around the pattern, you will need 2 of these for each pair of ears. They don't have to be perfect.
Step 4
Place the fur and the lining fabric rite sides together, pin and sew along the edges, you only need to do a simple stitch and you can go round twice if you want your ear to be extra secure.
Turn the ears inside out and gently pull the loose fur one the edges out of the seam, you need to do this because when you turn your ear inside out the fur will be tucked in the seam and it wont look like a real cat ear.
Once you've done this the fur should come out past the seam.
 Step 6
Fold the ear in half and then sew along the bottom (along the res line), make sure u sew both the materials other wise the lining will be loose and move about, and that you leave some material below the stitch so it will be easier to glue to headbands etc.
when you have sewed them then open the ear out into a ear shape, you can glue the sides together if you want it to keep its shape permanently (you will know what I mean when you get to this point)
Step 7
Next you can glue the ears to a head band or hair clips, if you can think of anything else you would rather put these on then please do so.
If your putting these on a head band then you can do this how ever you want, to do it my way then leave a thumbs distance at the end of the band and glue up to the length of the ear and place in any direction you wish.
To put these on clips just glue around the top of the clip and stick it to the bottom of the ear, make sure you put the ears on you head first and figure out how you want them to look. I wanted mine facing down so I put my clip on my ear facing left to right and the opposite for the other ear.
Step 8
This step is optional, to make your ears look cuter them you can tie some bows together and glue them to the bottom of the ear (as on the pictures below) this way when you wear them they look super cute like a little kitty.
I tried tying the ribbon around the ear but that didn't turn out so well so I just decided to glue the ribbons to the bottom of the ear.
Step 9
Finally were at the end the last step is to ENJOY!! wear these at a party, to a festival or convention, at home, maybe not to town or going shopping.
Put them on, take photo's and add special effects , draw on a nose and whiskers(I forgot), show off to your friends that you have awesome cat ears and they don't. Do what ever you like with these! Sorry about the pictures I took them at night and I had to use flash.
Thanks for reading, I hope you enjoyed this tutorial. If you tried this then do let me know how it goes, if you need any tips or help then feel free to ask.
Jenny xxx