Wednesday, 1 February 2012

All Studded Out

Studded shorts have become very popular and ever since I first saw them I knew I wanted a pair but I definitely wasn't willing to buy a pair as they can be very expensive.

When I started college I met Hanna-Lou :British Birdie, she has a very vintage style and she gets most of her clothes and jewellery from charity and vintage shops. She has inspired me to DIY more my clothes and she has tought me that charity shops aren't just of older people.


Hanna took me charity shop shopping (thrifting) for a pair of high waisted shorts/jeans but as our town isn't very reliable none of them were in my size!

In the January sales I went to H&M and found a pair of high waisted shorts that fir me perfectly for £10, so I bough them while I had the chance and then cut them up. They aren't completely finished yet but I did finish studding the pocked, so I thought I would share the images before I finish.

I took the studs from an old pair of shoes I never wore, but I also bought 100 studs from ebay and got 100 for free as they sent them to the wrong address

It took me forever to stud this pocket because I am a perfectionist I tried to make every stud as straight as possible (harder than it looks!) I gave up after I ran out of big studs so I spread them out more towards the bottom of the pickets.


I really want a pair of cross shorts like Singapore blogger, Miyake Wong is wearing in the image on the left.

It seems a lot of Singaporean bloggers have these, I want to know where they get them from!


Thanks for reading, I hope you liked this post! What do you think of my studding??

What do you think of Miyake's shorts??

Jenny xxx

Saturday, 28 January 2012

Moustache Nails!

Sorry it's been a while without any posts other than college, I've been really busy lately tyring to get all of my work done for our deadline but now that thats over I can relax for a couple of days so I decided to paint my nails.

I first saw these on a youtube thumblenail and thought they were pretty cool so I finally decided to try them out for my self.

I only took pictures of my left hand as my right hand looks kind of naff. 
I did these using a Rio nail art pen and it was very tricky to paint my right hand! 

Thanks for reading, I hope you liked this post.
What do you think of my nails??

Jenny xxx

Wednesday, 25 January 2012

Shirt patterns

For my latest project in college I am making a shirt, the shirt includes a yoke, cuffs, a collar and bishop sleeves. Heres how I drafted the patterns:


First I began by drawing around shirt blocks, the block include the front shirt piece, back shirt piece, the sleeve and the cuff. The picture above is my first draft which wont be cut into or adapted.  


Next I traced over the yoke on its own first then the back shirt piece without the yoke and then the front shirt piece and then the cuff I also added a 1.5cm seam allowance to all of these.


I then traced over the sleeve and devided it into six sections and I drew a line from the top to the bottom of the pattern.


After this I cut the pattern piece out and I slashed and spread the sleeve, the middle pieces I spread by 8 cm. I then spread the other two pieces on the right by 8cm and 4cm on the other side. After this I traced over the adapted pattern. To create the bishop sleeve we didnt cut any of the length off, as normally to create a sleeve you cut some of the length on the bottom to leave space for the cuff.
This is what the bishop sleeve will look like when finished.


After this I created a pocket pattern by placing my hand on the paper and marking off the corners of my hand and then I matched the lined, I also used dashed lined to mark the curve.


Finally I made the collar and the collar stand, to do this I measured the neckline on my first draft to see how long the collar will be, I then decided on a depth for my collar stand which was 4cm. I also lifted the top right point higher up for the front of the collar and for the collar stand i lifted the bottom line at the front by 0.5cm and curved it to match the top line of the collar stand.

I then devided the collar into four equal sections and traced around the collar and the collar stand, I slashed and overlapped the collar stand by 0.5cm, then I slashed and spread the collar by 0.5cm so that it will fit over the neck. The last step was to trace over these and add a 1.5cm seam allowance.
Thanks for reading,I hope this post was usefull.

Jenny xxx


Wednesday, 18 January 2012

'Val Destroy No.1'


For the final task in my latest brief in college I had to recreate the painting below to look as close as possible.
The painting below is called Val Destroy No.1 by Jo Brocklehurst and would have origionally been painted in a dark club in the 80's.
The origional model in this picture was called Val and the hair and make up was very extreem and the hair was very difficult to recreate, fortunately my model had recently died her hair blue but we had to use alot of hairstpray to make it stand up so much.


The image above shows the jumper that I painted onto for the picture, I used a stencil and sprayed over it for the Swastika. I also had to cut off the neckline so that the jumper was off the shoulder. I tried to make this as close to the painting as I could but some of the details were hard to make out.


Here is the final image that was also edited by the photographer, I think that we recreated the image as close as we could however if I could improve this I would have had the image taken at a slightly higher angle and maybe I would have painted the Swastika a bit smaller.

Overall I am happy with the final piece and I think that the photographer did a great job.
Heres the link to her website:


What do you think of this recreation??

Jenny xxx

Friday, 6 January 2012

The Black Maxi Skirt

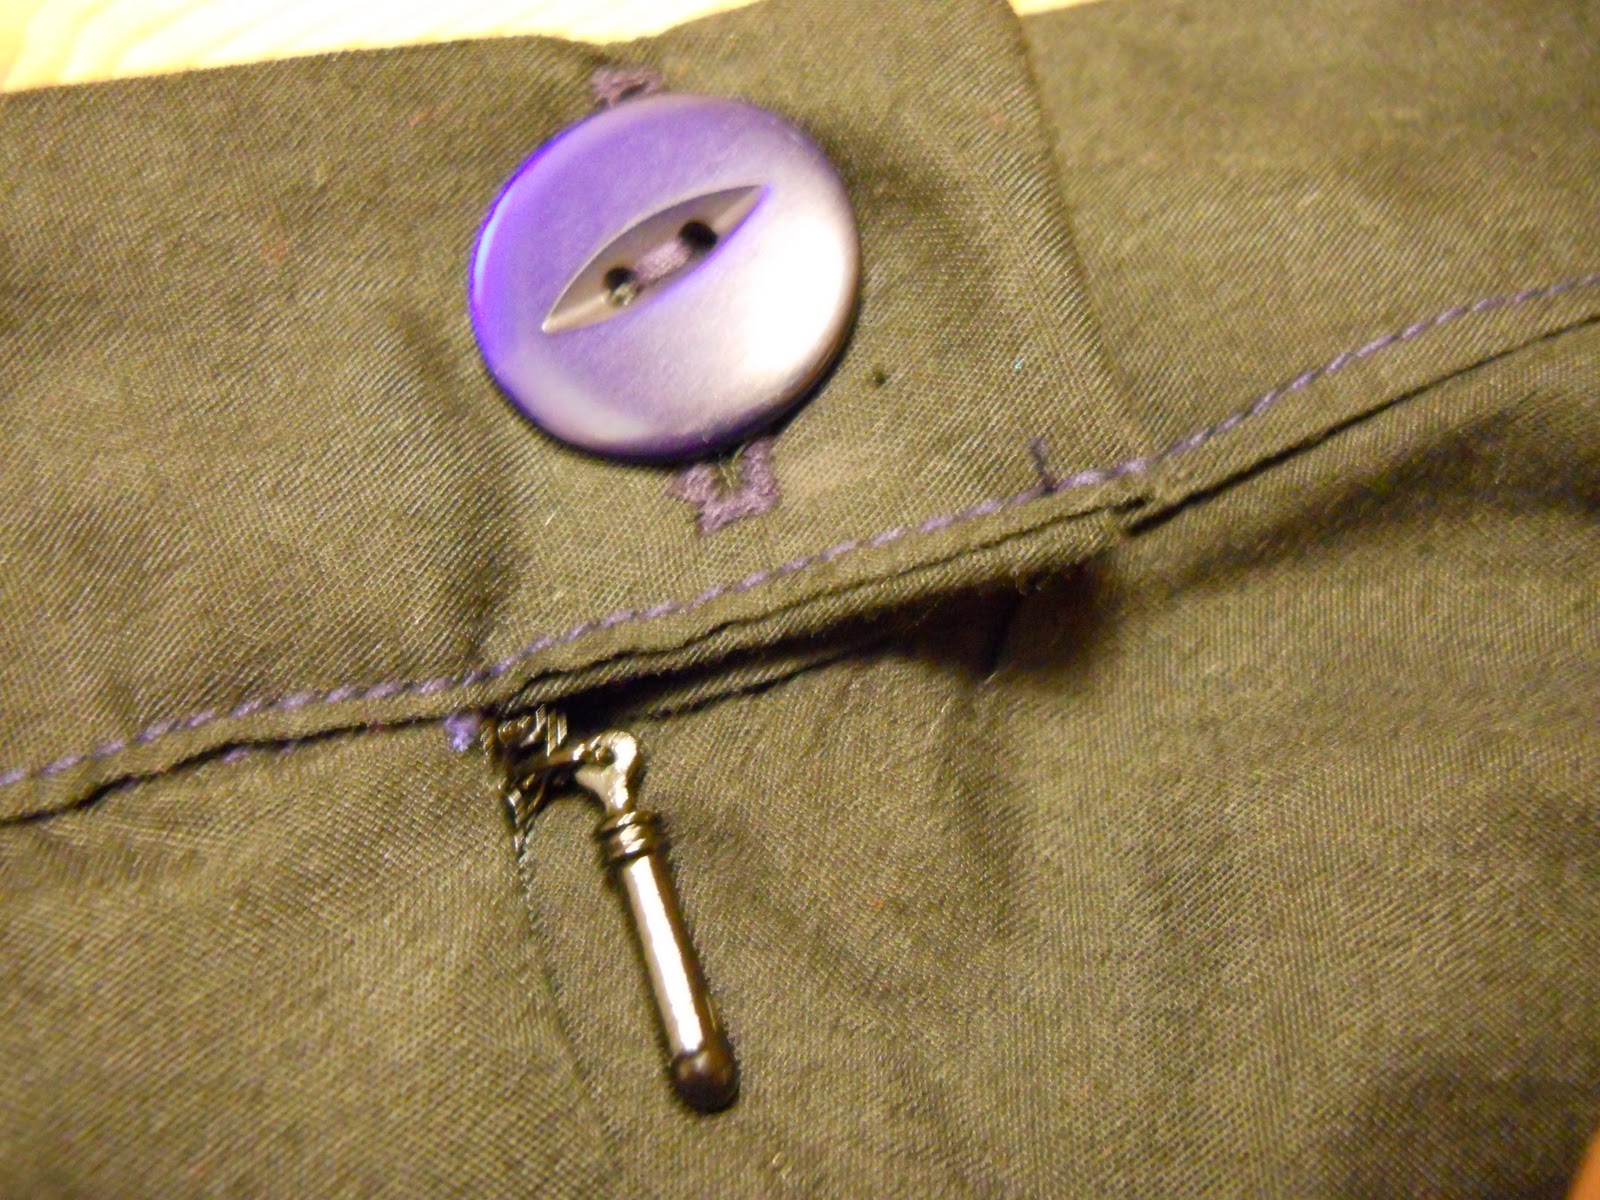
For our second project in college we created a pattern and manufactured maxi skirts. To start this I used my skirt block and adapted it to create extra flare, invisible zip on one side and a waist band. This skirt was also cut on the bias which made it stretch and flute out at the hem.

The photo on the left are the adapted skirt pattern pieces I used to create flare. These were quite fiddly because they were long but they were easy to adapt. To create the flare I traced around my skirt block and divided it into three sections coming from the darts. I then slashed up the lines and closed the darts. This automatically spread out the pattern as seen in the picture. I then added an extra 2.5cm flare to the hem line at the side and joined that line to the hip. Below shows the final skirt pattern with a 1.5cm seam allowance and the waist band pattern which was very simple. To create the waist band I took a measurement from the waist of the skirt pattern and doubled this. I then added 4cm for the button stand and a seam allowance of 1.5cm all the way around. For the depth I decided on 4cm and doubled that hight wise so it was folded at the top. 


This shows the two back pieces sewed together
This shows topstitching


Unfortunately my fabric wasn't wide enough. To problem solve this I had to add a front seam and a back seam, so I had four pieces instead of two and I had to sew a topstitch on the front and back seam to finish the seam. Next time I will definately double check the width of my fabric.


Also because my fabric wasn't widenough the last pattern piece wouldnt fit on the fabric so I had to sew an extra triangular piece on to the bottom of the skirt pattern as shown in the image above. Once I had my whole front and back piece I inserted a concealed zip into the left side seam. I then closed up the right seam with a 1.5cm seam allowance.


The last step was to sew a button hole and button on to the waist band, I had some trouble with the machine but after a fiew practices it worked fine.


The last step was to hem which I found difficult due to the fabric slipping and being cut on the bias. I ironed up the hem 0.5cm, I then repeated this to conceal any overlocking/raw edges. I finished this by topstitching down. I learnt that its difficult to hem on a circular skirt compared to a straight skirt.  

This is the finished skirt in the photo on the left, I think that this skirt was alot easier and simple to make compared to the military skirt in the previous blog as there are no pleats. I also perfer this skirt to the previous one as it's a lot less structured and it drapes really nicely.

I really enjoyed making this skirt and I hope you like it, Thanks for reading.

Jenny xxx

The Military skirt


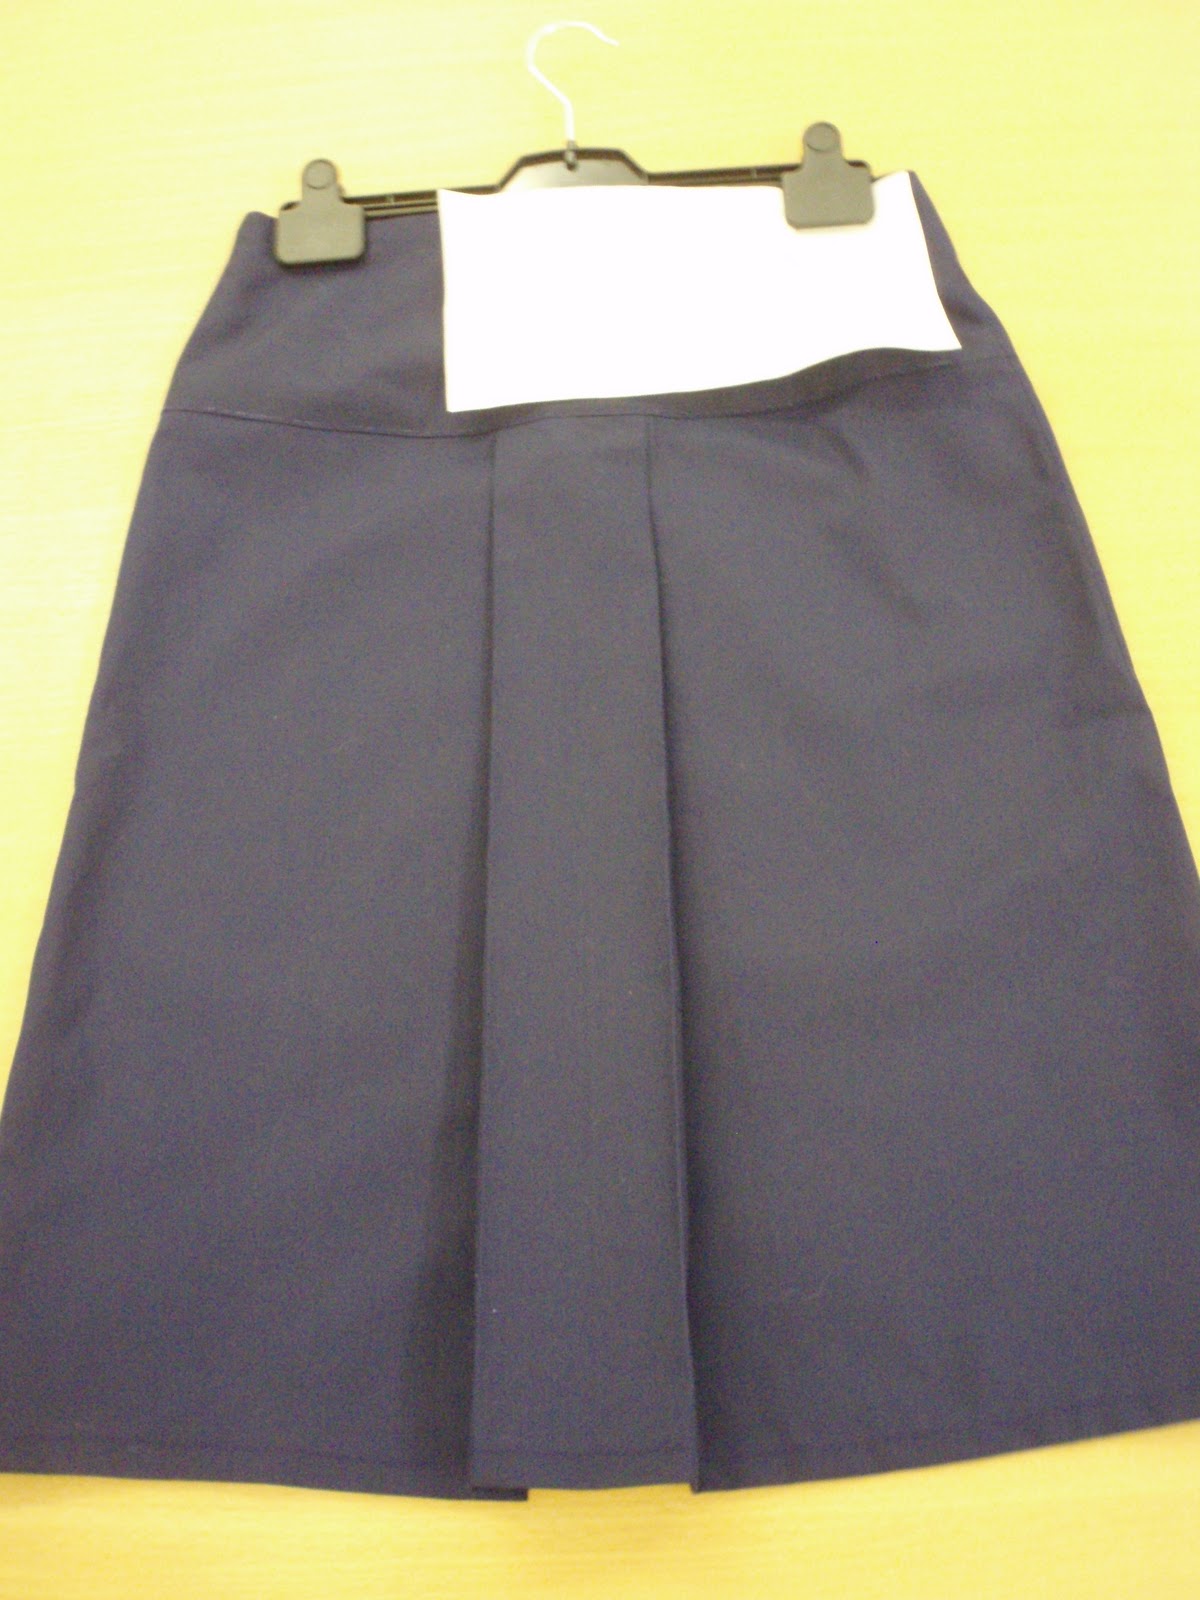
These are images of the finished skirt, I think that I did a pretty good job for my first project in college. I found the actual pattern cutting alot more difficult than actually making it, I think that this because pattern cutting is quite technical and you have to be very precise and I much perfer making and being on the sewing machines.

The most difficult part of this was sewing the facing to the zip as it didnt quite fit, and making all the seams match.

All in all i'm quite proud of this skirt and in the future I will deffinately work harder and concentrate more on my pattern cutting.

Thanks for reading, what do you thing of this skirt??

Jenny xxx

Wednesday, 4 January 2012

OOTD : The Red Maxi


Here's the DIY maxi skirt from a previous post, I thought that I would do an outfit of the day for a change. I kept this quite simple as close up theres alot of detail in the skirt, I paired it with a peter pan collar blouse (which seem to be pretty popular now) a midlength necklace and some black heels for height. I also wore some red lipstick for an extra pop of colour.

Thanks for reading! what do you think of the skirt??

Jenny xxx

Saturday, 31 December 2011

Bargain Jewellery!

A few months ago me and my friend discovered risingtaste.com via blog stats and email, we were quite sceptical about risingtaste as you should be with new online shops. But nonetheless we went and had a look and found some of the cheapest clothing and jewellery so I decided to buy some jewellery ready for Christmas, and they arrived a few days sooner than expected.

 First I bought this necklace for $3.44
I fell in love with this when i first saw it on cute little strawberries but I was gutted when I found out that they only ship to Singapore!

I also bought this for $3.44
It looks really pretty in the light, one of my new favourites!

Finally I bought this bracelet for $0.99!!!
I've wanted this bracelet for a long time and I was going to buy it for £3.99 at a different website but when I saw this it made my Christmas!

Thanks for reading! What do you think of my jewellery and rising taste??

And if I don't post before new year then
Happy new year!! I hope 2012 will be good to you :)

Jenny xxx


Tuesday, 27 December 2011

DIY : Shirred Maxi Skirt

So I've finally had the chance to make my maxi skirt, this is really easy to make and it shouldn't be to expensive to make depending on your fabric. For this you will need to have a sewing machine and this will require shirring, if you don't know how to shirr then here's a link to the video I learnt from : http://www.youtube.com/watch?v=EU9ZL0kMV_c

You will need:
  • 2 different fabrics (I used chiffon and a thin cotton) remember you fabric must be at least  waist measurement + 0.5 x required length
  • Gold or Silver closed zip any length you like
  • Sewing machine
  • Matching thread (to fabric and zip)
  • Elastic/shirring thread
  • Material scissors


Step 1

Make sure your fabric is the right size, mine is 1.5m by 1m that is wide enough for my waist and long enough to touch the ground. if you wan a shorter skirt then you can cut it shorter.

Then hem one edge of both of your fabrics (the longer edge)


Step 2

Thread your machine for shirring and place your  fabrics wrong sides togther on the edges where you hemmed and sew a line of shirring, any width you like, I used roughly 1.5cm. Remember to stretch the fabric tight when sewing a new row.

Then sew about 11 more rows of shirring, you can do more or less as long as they reach your hip.
(This is very tidious but its well worth it)


Step 3

Fold the skirt in half right sides in and sew them together untill the end of the shirring. Then sew the inner layer first and the outer layer second, the skirt will have more movement this way.


 Step 4

Next cut the bottom of the skirt so its all the same length and hem the edges of both fabrics.


Step 5

In this case the zip is for display only but you can make it functional if you want. Sew the zip on the seam be sure to match it with the top if the skirt, you can trim a bit off if you like.

Give your skirt a good iron and now your skirt is done! Simple and quick, It might not be exactly the same as the origional but its pretty close. I'll post an outfit of the day with this skirt as soon as I can.

Thanks for reading, I hope you have fun making this skirt if you decide to make it. If you have any questions then feel free to ask!

I hope you had a great christmas!

Jenny xxx


Thursday, 15 December 2011

DIY: Deco Den Compact

                                                                                                                Deco Den is a really nice hobby
and something fun to do when your bored and its quick and easy. This is more of an example than a tutorial, as I can only really show you an example of what you can do with your embellishments and give you some tips, that way you can have any design that you want on your make-up case or pretty much any plastic cover.


First if you cant find embellishments that you want then a good shop to get them is : http://fullmoon07xxx.ocnk.net/ (definitely recommend this onlineshop)
Otherwize you should be able to get them from a craft shop.


You will need :
  • Embellishments
  • Glue (Do Not Get Fast Drying Glue)
  • Something to decorate (e.g. Phone case, Compact case, jewellery box...)
  • (Optional) Tweezers and Q-tips.
Step 1


Figure out what design you want to create. Once you know where you want everything place your biggest pieces down first and then glue them down, this will be easier when filling your smaller pieces. (for bigger pieces you can glue the backs and then stick them down.)


Step 2


If you have lots of different sized embellishments then keep gluing them down (remember big to small). If you have embellishments similar to mine then stop when there too small to place with you fingers, that way you wont get covered in glue.


Step 3


Next add the smaller pieces, first glue the surface eavenly and then you can place them down with a pair of tweezers, this way is a lot faster and less fiddly.
(you can use a Q-tip to spread the glue in smaller areas)


Step 4


Fill all the spaces you can with your small embellishment it will look better to fill as much of the cover as possible, unless its part of your design to have some of the cover exposed.


Step 5


Finally fill any small gaps with emaller embellishments (I used nail art Rhinestones)
Then leave your Deco Den case to dry over night (try not to touch it)  


Thanks for reading, I hope you liked this post! If you have any questions feel free to ask, and if you tried this or done this before how did it go??

Jenny xxx
Related Posts Plugin for WordPress, Blogger...