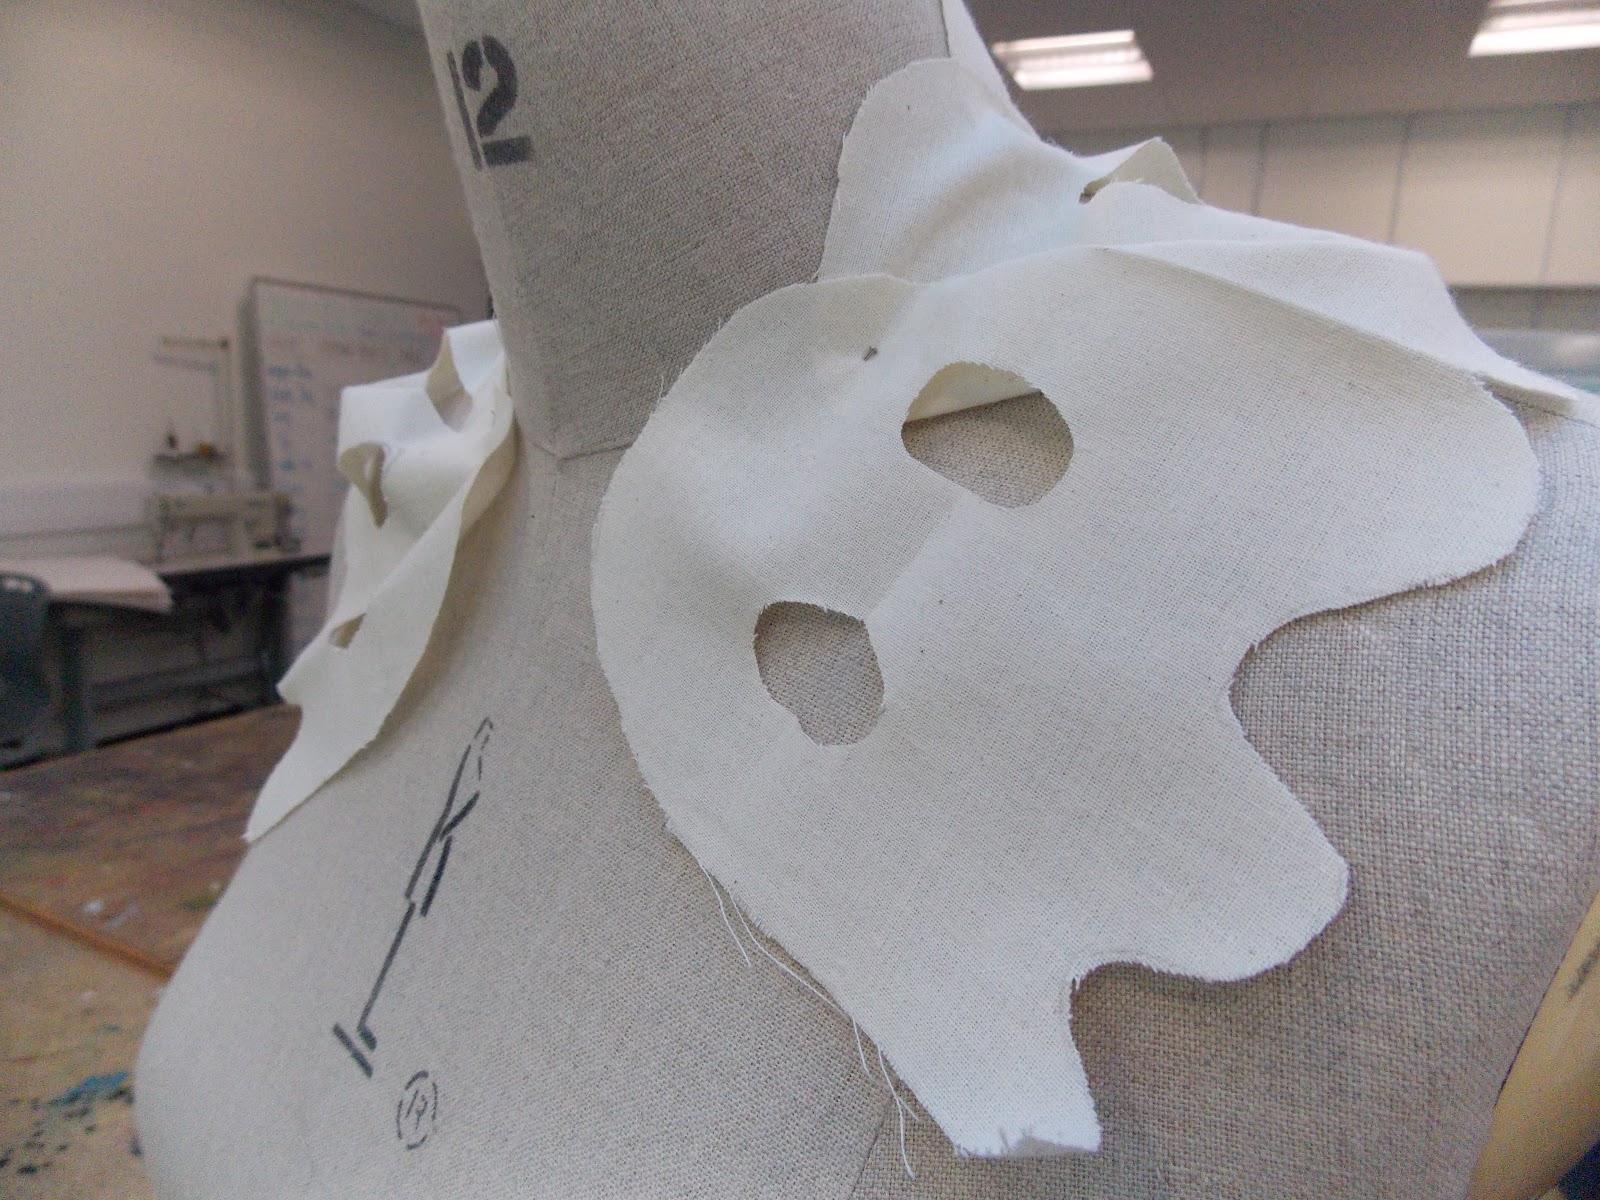
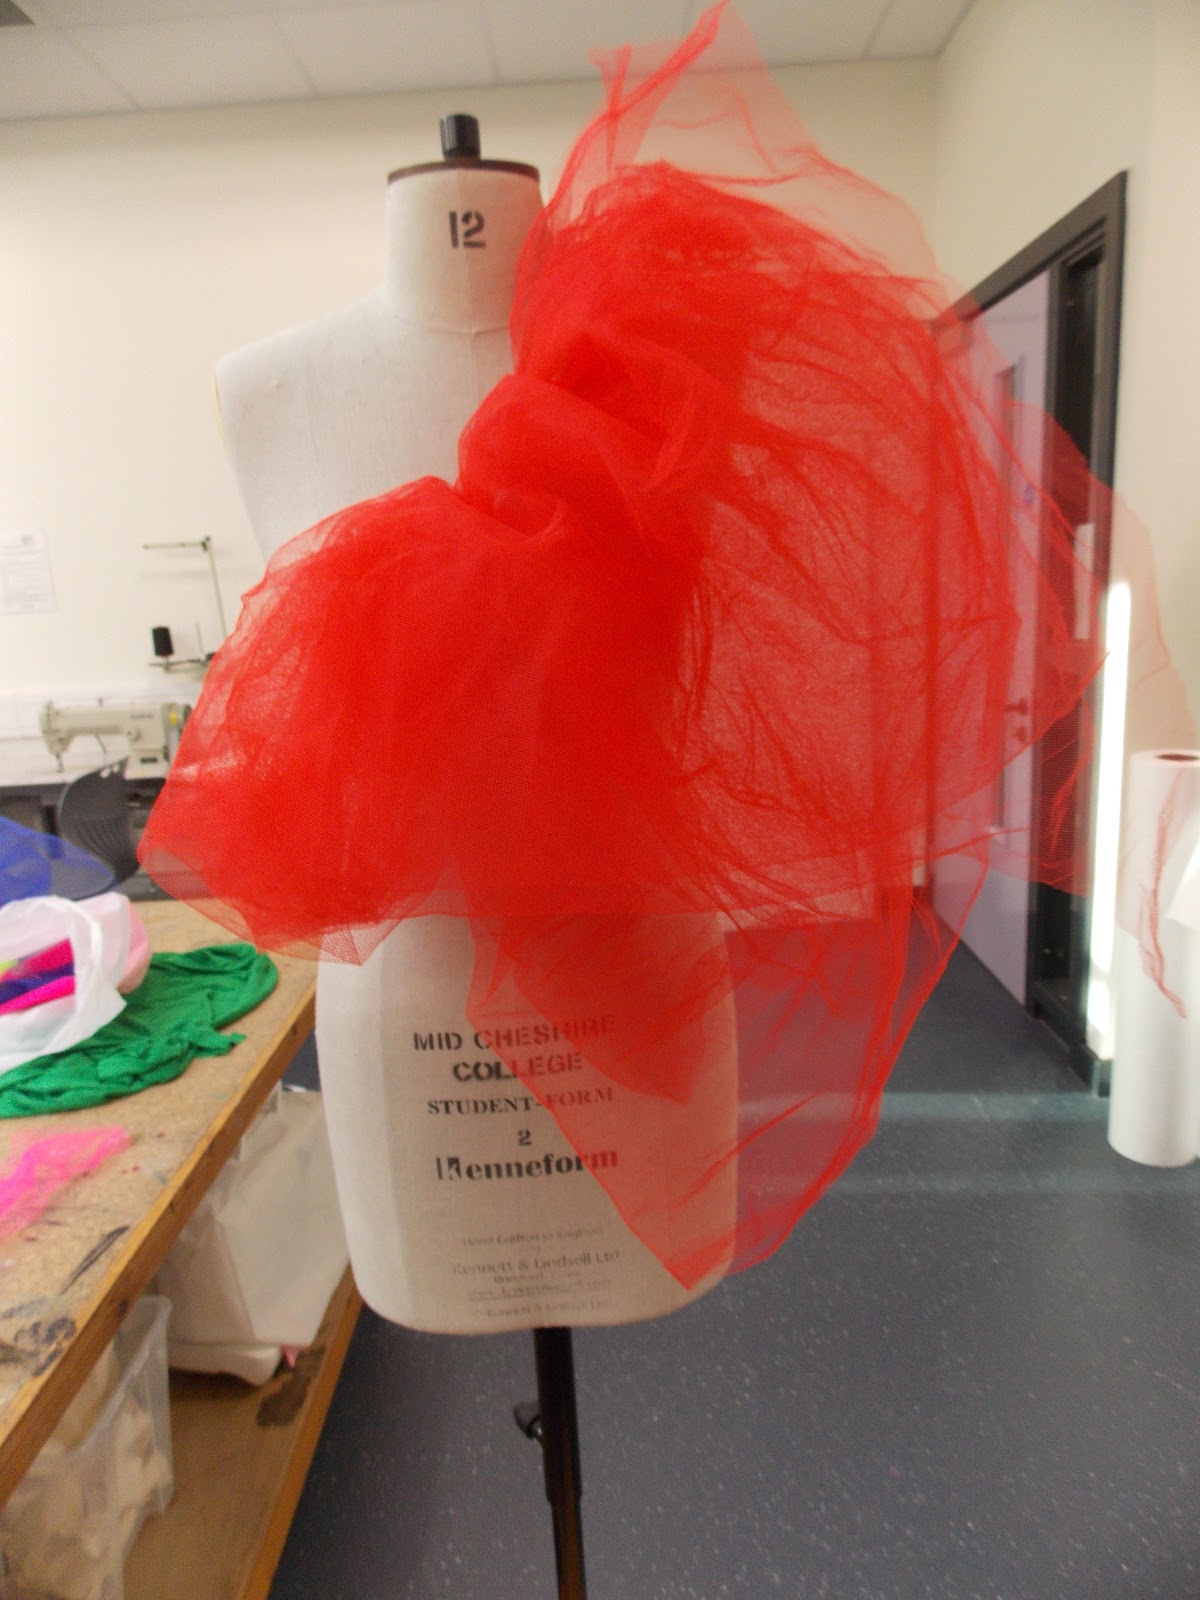
Here I'm creating the toile for my Pacman skirt hope you enjoy learning!
First I started by drawing a horizontal line the length of my waist measurement, I then drew a vertical line the length that I wanted my skirt to be, and created a rectangle using these measurements. I then split the rectangle in half both ways, and divided the vertical line into 10 even sections
At each other line I drew curved darts and a curved seam at each side, this will create the ball shape I require at the top of my skirt to create my pacman skirt.
At the hem I drew the same shape as a pacman ghost's feet making sure the curves were an even distance away from each other.
One I finished drawing out the shape I traced over this adding a 1cm seam allowance and cut it out.
I then pinned this to my fabric and cut it out.
Next I created a template for my darts to ensure I sewed the dart in the right shape.And then sewed all of the darts together.
Next I sewed one side together and pined the other whilst i tried it on my friend as she had a dress on with a netted underskirt, and this helped me to decide weather or not the shape was right.
Next I sewed the other side half way up leaving room for a zip
I then created the waist band by drawing a rectangle 8cm long (to be folded down) and half of my waist measurement wide as I will cut this on the fold. I then added a 4cm button stand and a 1cm seam allowance and cut this out of my fabric.
Here I put a notch for the button stand.
I then decided that I didn't want the button stand and took that off and left enough for a 1cm SA
I then drew an interfacing for the waist band using only one half of the original.
Next I sewed the waist band to the skirt wrong sides together on one half of the band
I then folded over and top stitched so the seam was hidden.
For the edge of the waist I sewed as close as the zip as possible and cut the corner off so the point would be sharper.
Next I traced part of the hem and drew a 4cm SA to create my binding pattern, then added a 1cm SA and cut this out.
here I sewed one edge of the binding to the skirt hem.
I then cut notches in the curves so it would create a better curve when folded over.
I then ironed over 1cm of the top of the binding and sewed this down.
For the Eyes I drew a shape for the white part and one for the pupil and then added a 1cm SA
Thanks for reading!!
Jenny xxx