Showing posts with label college. Show all posts

Thursday, 4 July 2013

Im Freee!!!

 
So this post is quite late, I apologise! However I have finally finished college forever and am enjoying my freedom, until September when I start uni.
 
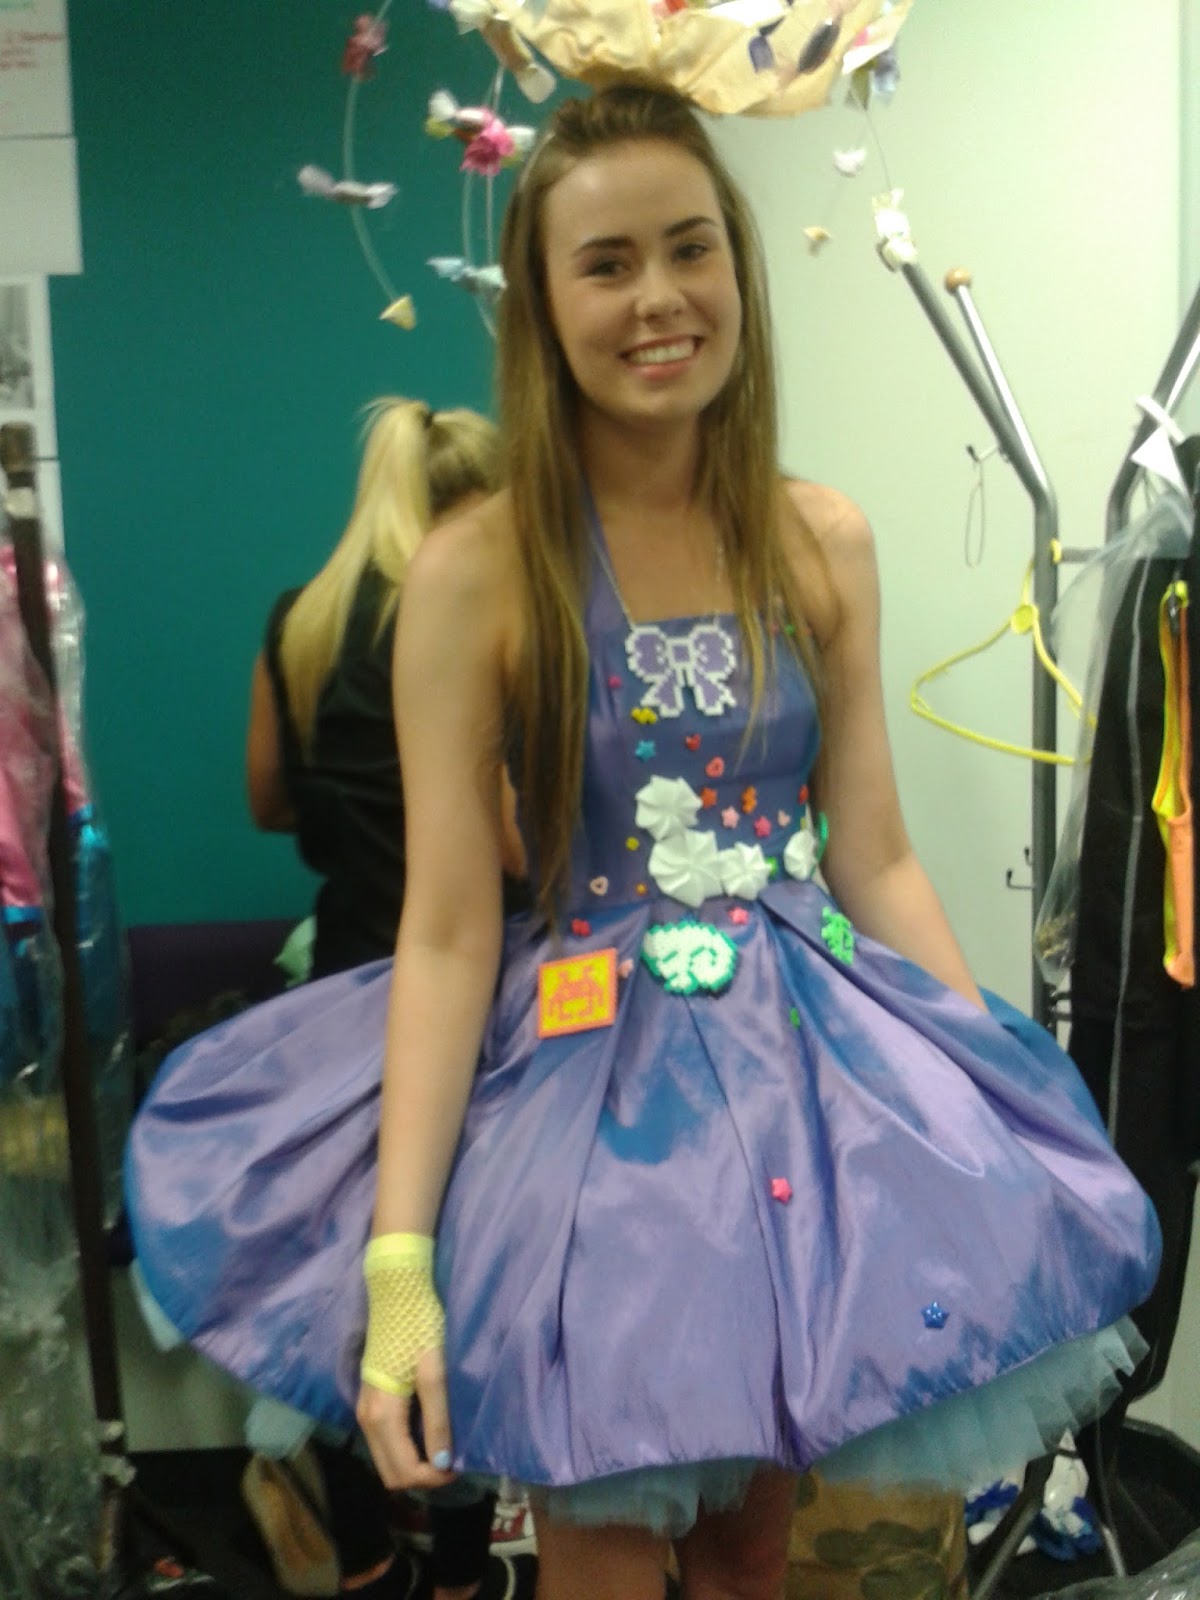
I thought I would post the pictures of my final garments on the catwalk so you could see them, over all I'm really happy with my collection and I actually really like what I have made this year!!
 
On the cat walk:


Back stage:


I think my favourite outfits were the purple dress and pacman but I love them all and I'm really proud of what I have achieved this year!! I made everything in my collection apart from the footwear, wrist warmers and the pink bunny ears and the sweat hat which was made by our lovely teaching assistant Trish!
And thank you to my beautiful models for modelling!!


Here are my friends that came to watch, thanks for coming guys!!!

 
And to conclude this post here's Jess in Trisha's hat, overall Ive enjoyed the college experience and made some great friends and I'm proud that I have finished the course with what I think my grades where DDD* which I'm extremely happy with as I was predicted MMM,
In your face predicted results!!
 
My mums friends daughter is also joining the course next year so that will be interesting look out Nic and Bruce another Asian kid!
 
Thanks for reading!!
 
What do you think of my final collection??
 
This summer I'm going to be making a lot of clothes, I already made 4 from my list so I will be posting those as I make them and Ill also have a holiday to Thailand to share with you guys!!!
 
What are you all doing this summer??
 
Jenny xxx


Sunday, 16 June 2013

Blouse toile

 Here is how I made the toile for my white blouse
 

To create my blouse I traced around the bodice block and sleeve block.


For the front block I moved the shoulder dart to the bust using the block as a guide.
I also added a button stand of 3cm and added that twice, I then added 1cm either side of the centre front seam.

 I then added 1cm SA and cut this out.
 
 
to the back I removed the shoulder dart by taking the same measurement of the dart off the side. I also extended this a little to about 45cm from the shoulder.

 
I then drew in the yoke line and drew an even curve to the top bust line, I also left  1cm by the arm whole so it was easier to attach to the yoke

 
I also extended the length to about 55cm from the shoulder line.


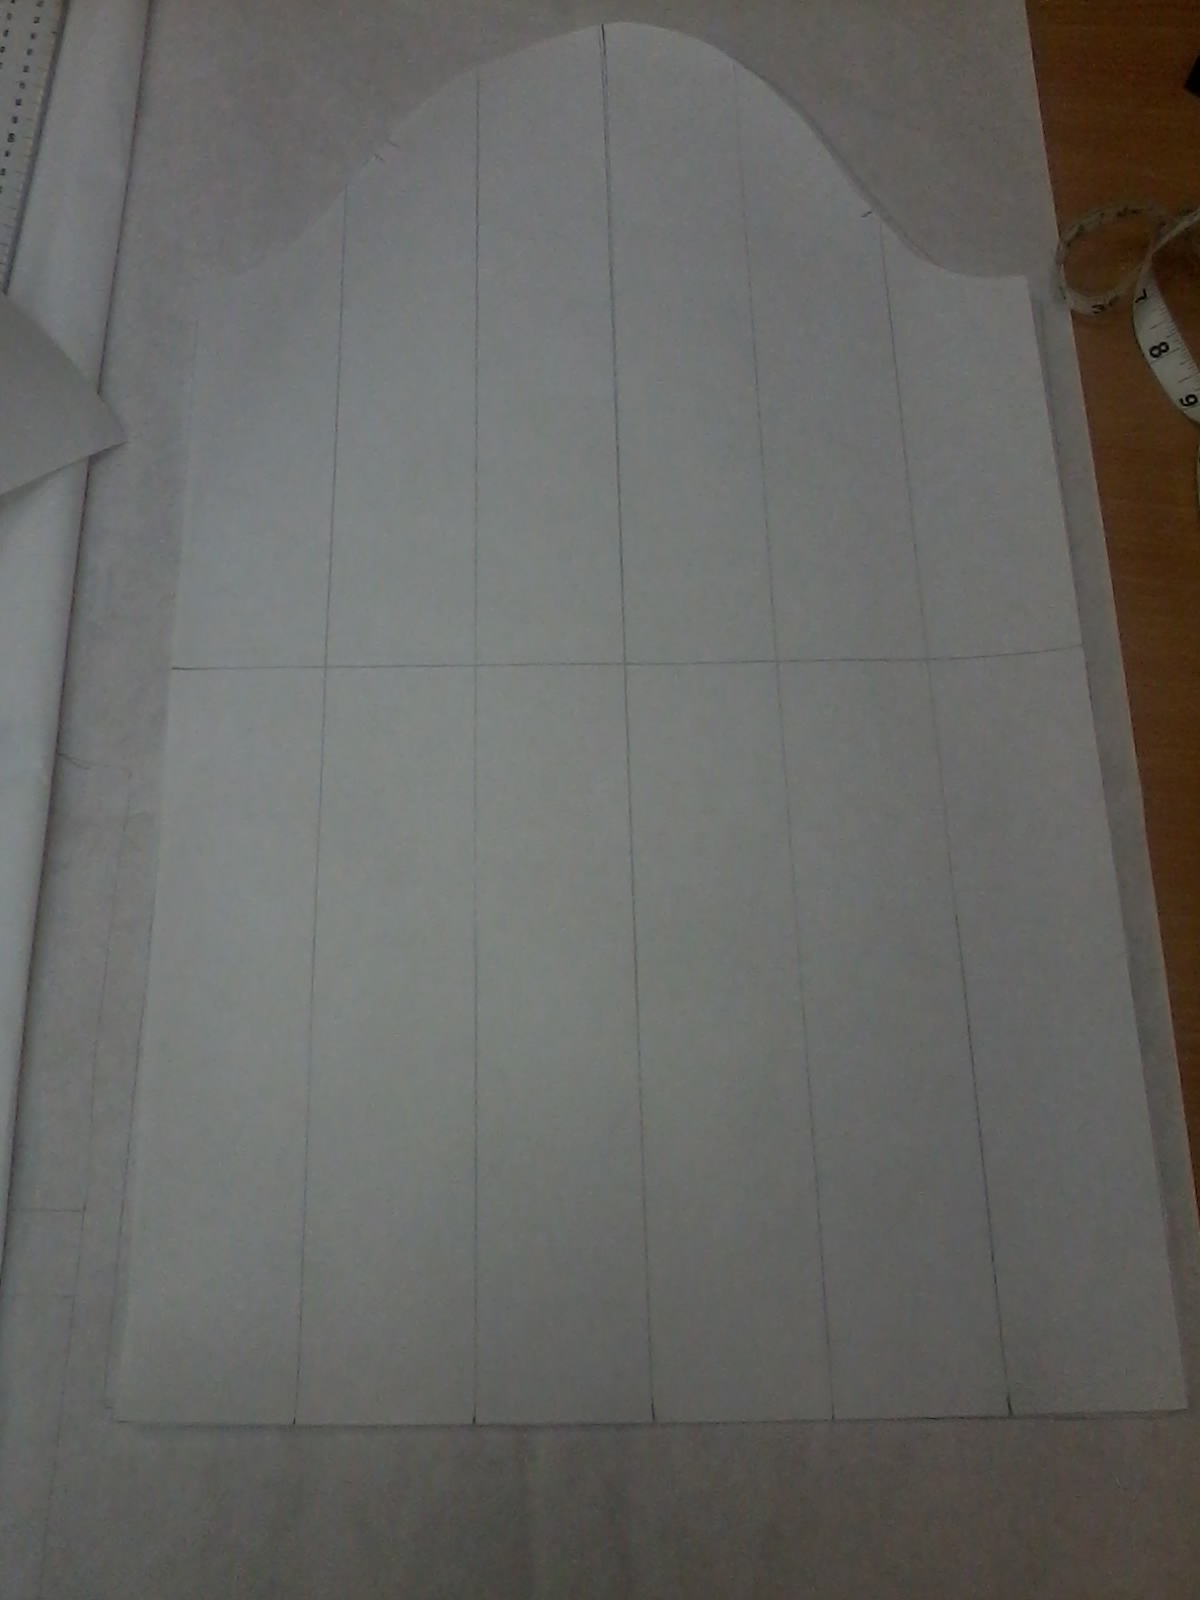
For the sleeve I divided this evenly into 6 sections and slashed and spread however I measured a comfortable measurement around the wrist and taped the sleeve edge to this measurement.


For the cuff I took the wrist measurement and created a rectangle about 5cm wide and added a 4cm button stand. I then added a 1cm SA and cut this out.
 

 For the collar I measured one side of the back section of the neck on a mannequin and Drew a deep line this distance, I then measured one half of the front and marked this on. I then measured how wide I wanted my collar and then drew a rectangle I then lifted the top corner and adjusted my point, I also lifted the bottom edge and drew a cut on the fold at the centre back.
 
 
Next I drew a 1cm SA and cut this out.


Next I pinned my pattern pieces down and cut them out of my fabric.

 
I then sewed bias binding to the curve on the back.


I then sandwiched the back piece in between the yoke pieces.


I then folded the button stand over 3 times according to my notches and top stitched them down.
 
 
Next I sewed the front and back together at the shoulder so that the seams were tucked in together, to do this i made sure the front was sandwiched in between the yokes, i then turned this out and top stitched.

 
next I attached the sleeve to the shoulders and then sewed down the side seam from the top of the sleeve to the hem, however I left about 3cm at the bottom of the hem as I wanted a step hem and a small slit at the seam, I then repeated this on the other side.
 
 
I then sewed the collar pieces together, cut off the corners and bagged it out.
 

I then sewed in a notch to attach the collar and sewed one side of the collar to the neck like.


I then folded the other side over and folded the seam up so it was hidden.
 

I then top stitched so the seam was hidden.


I then repeated this step with my cuffs however I made sure they were facing opposite ways.


After I sewed them I realised that The button stand were facing the wrong way, I will sew these the opposite way on my final.
 
Thanks for reading!!
 
Jenny xxx


Monday, 13 May 2013

Re-Worked CAD Drawings

 
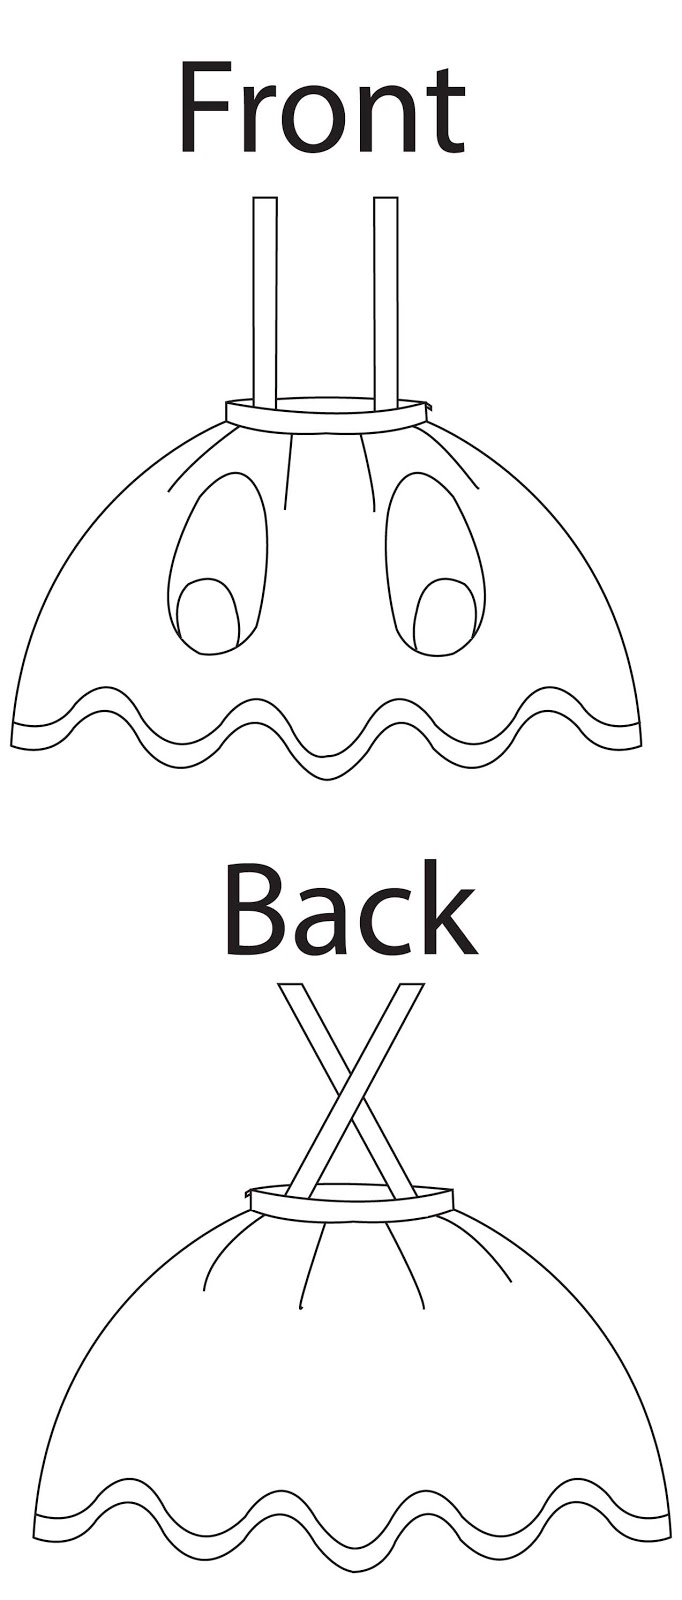
I had to go back and edit some of my spec drawings as I missed a few bits, Here I added the gathering/rouching on the front of the dress I also added the zip on the back.

For my pack man skirt I added in the waist band and the zip on the left hand side.

For my shirt I added in the cut out blouse and the hem on the bottom
 
Jenny xxx

Sunday, 12 May 2013

CAD : Zipper

One thing I had to do for CAD was to create this Zip puller using book instructions, I think it turned out quite well however I don't remember what were supposed to use this for!
(please excuse the wonky picture I lost the digital file and had to take a picture of it)
 
Thanks for reading!! 
 
Jenny xxx 


Friday, 15 March 2013

Toiling My Lantern Skirt

The other week I started toiling my Lantern Skirt, I first drew a horizontal straight line and then a vertical line at a 90C angle to the first line.  as I am going to have 8 panels to create the ball shape, I have to divide each measurement into 8. I then took an 8th of my waist measurement and marked it evenly across the top line where the line crosses.


I then measured how long I wanted the skirt and added a little extra as it will poof out and marked the bottom line down from the waist line, I then drew a line half way down. After I had the grid I measured how wide I wanted the half way point, divided by 8 and then marked the points on the line, I the did the same with the hem. After that I drew a curved line connecting the waist line measurements and the same for the hem. I then drew a curved line on each side making sure it passed through the middle measurements. 


I then added a 1cm seam allowance all the way round, and then cut out the pattern. I then folded the fabric so there was 4 layers and cut out 8 pieces. 


After I cut out the pattern I realised that it was far too wide so I trimmed 4cm off each side. Remembering to keep the same curve. 


 After I had my pattern pieces I sewed them all together at the sides and then sewed half way up the back seam for  a zip, It will look much better with netting underneath to bag it out. I thought the skirt looked too long so I took off Around 10cm off the hem off the pattern. 


And that was the finished toile, unfortunately I didn't take pictures of every step but I did recreate my pattern on Illustrator which is the first image. 

Thanks for reading!! What do you think of my first toile?? 

Jenny xxx


Related Posts Plugin for WordPress, Blogger...