Showing posts with label Pattern cutting. Show all posts

Friday, 15 March 2013

Toiling My Lantern Skirt

The other week I started toiling my Lantern Skirt, I first drew a horizontal straight line and then a vertical line at a 90C angle to the first line.  as I am going to have 8 panels to create the ball shape, I have to divide each measurement into 8. I then took an 8th of my waist measurement and marked it evenly across the top line where the line crosses.


I then measured how long I wanted the skirt and added a little extra as it will poof out and marked the bottom line down from the waist line, I then drew a line half way down. After I had the grid I measured how wide I wanted the half way point, divided by 8 and then marked the points on the line, I the did the same with the hem. After that I drew a curved line connecting the waist line measurements and the same for the hem. I then drew a curved line on each side making sure it passed through the middle measurements. 


I then added a 1cm seam allowance all the way round, and then cut out the pattern. I then folded the fabric so there was 4 layers and cut out 8 pieces. 


After I cut out the pattern I realised that it was far too wide so I trimmed 4cm off each side. Remembering to keep the same curve. 


 After I had my pattern pieces I sewed them all together at the sides and then sewed half way up the back seam for  a zip, It will look much better with netting underneath to bag it out. I thought the skirt looked too long so I took off Around 10cm off the hem off the pattern. 


And that was the finished toile, unfortunately I didn't take pictures of every step but I did recreate my pattern on Illustrator which is the first image. 

Thanks for reading!! What do you think of my first toile?? 

Jenny xxx


Wednesday, 10 October 2012

Sewing Sample's

So again this year we have had to sew samples for our pattern cutting brief!
This year we've learnt some new techniques, I will keep updating this post when I sew new samples.
 

Pointed Seams. These were quite easy to sew and came out well.

Curved seams, these were also easy to ensure the seams were smooth I cut notches to help the fabric curve.


Bias binding(left, right) these were quite easy to sew as I have done them before however the satin bias was quite slippy. Jean seam(centre) this was simple to sew as I have done this in the previous year.


Concealed Zip, I learnt a new way to finish the end of a concealed zip and found it a lot simpler to sew it this way however the top threads came a bit loose.

Inserting a circle, I found this quite fidily as it was quite difficult to fit the circle in.

Jean seam

Bias binding on a curved seam, I found these quite easy to sew however it was it bit tricky tyring to keep the fabric and the binding straight.


Thanks for reading!!

Jenny xxx

Monday, 28 May 2012

Toiling for my Final dress


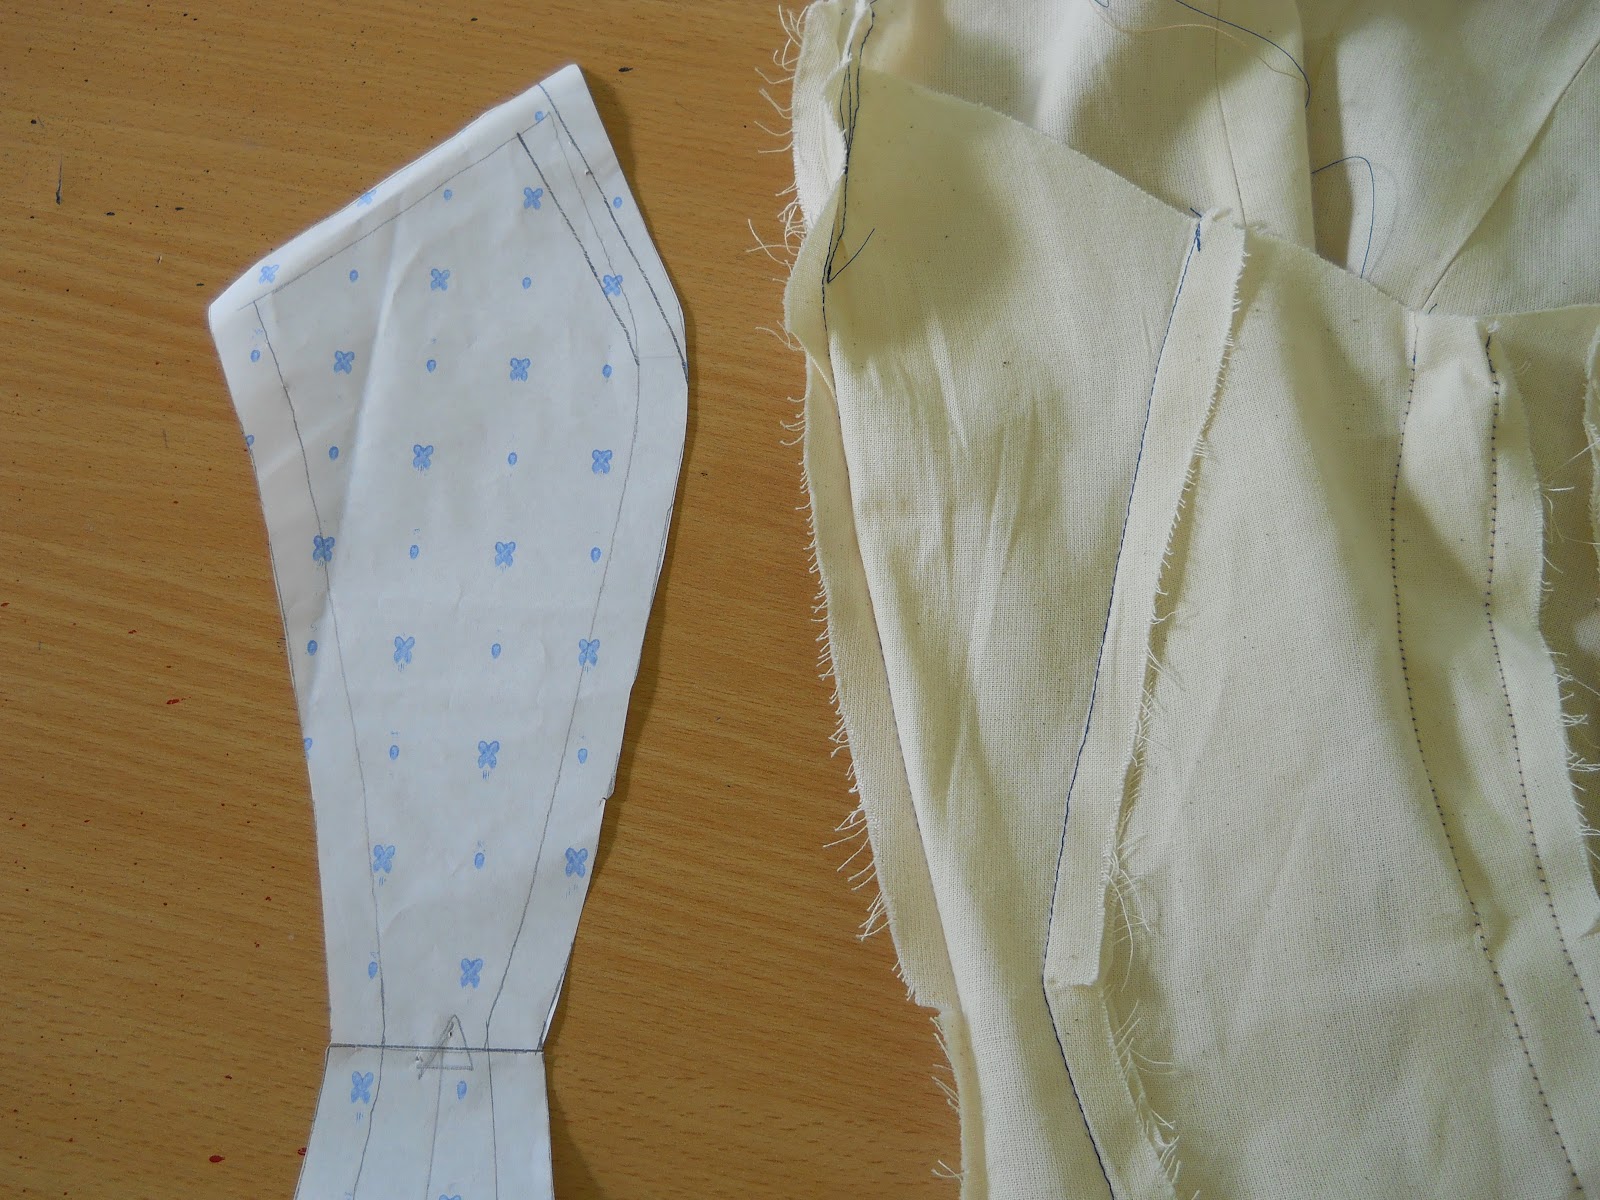
Over the past few week I have been working on patterning and toiling for my final dress, I thought I would post some pictures of my progress.


here is my pretty much finished toile I just need to figure out how I am going to add the shoulder piece and fix the hem

Thanks for reading! 

Jenny xxx


Wednesday, 25 April 2012

Flowery Bubbles!


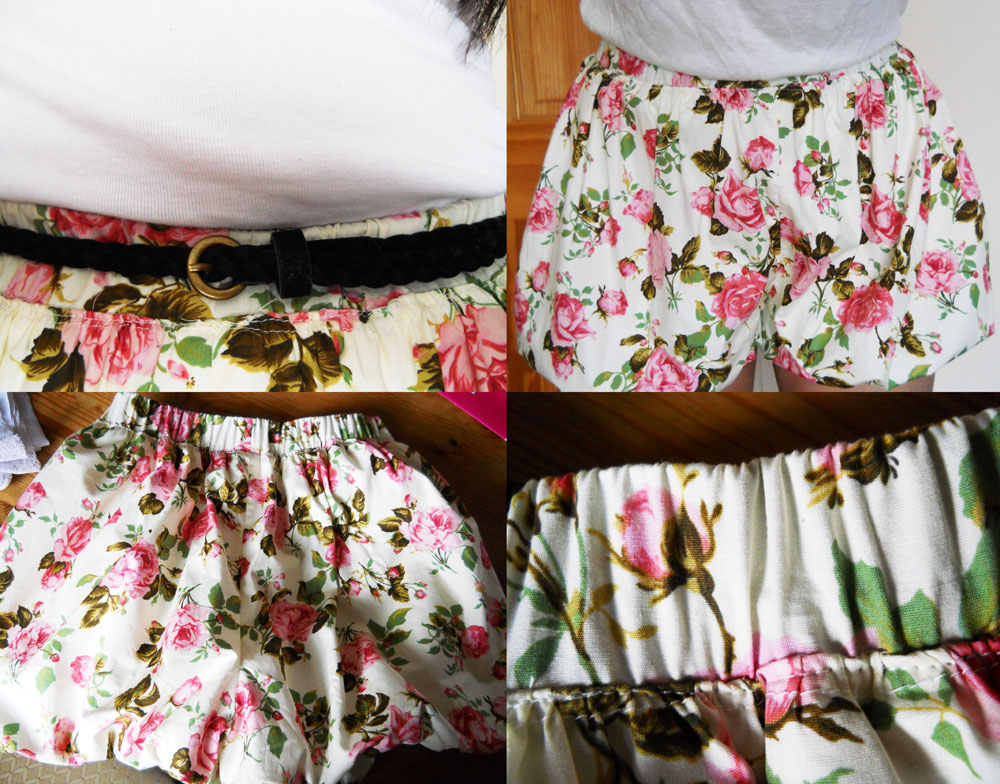
For my independent project, in the half term I made a pair of  bubble shorts. After I made these I decided to make them again in another fabric, the second time round it only took me half the time to make them which was about 5/6 hours.

I changed the waist band as I didn't like the effect the elastic had, I also made the shorts a little bit shorter.
Not sure if you can see but I still have some stitches left to unpick.


Here is how I would wear these,I kept the top simple as there's a lot of texture and pattern already in the shorts I also made a Usamimi headband out of the extra fabric and I wore a pair of dolly shoes with a similar pattern that I thought looked pretty cute.

 There's been alot of bad press about bubble shorts but I think that if you get the right style and fabric they can look pretty good.


Thanks for reading!
What do you guy think about my bubble shorts??

Jenny xxx


Wednesday, 4 April 2012

Independent Project : Bubble shorts

For pattern cutting we have a choice of doing an independent project to help get a distinction, so for my independent project I decided to make some bubble shorts.


I first saw K.L wearing these in her 5 OOTD: I wear a weapon..or Two + Jewelmint Giveaway!!!  video and I really wanted a pair!! She said they were from yesstyle so I went on their website and I couldnt find them! So I decided to make them, also now that I have the patterns and the know how I can make more in different fabrics.


So here's how I made the shorts :


First I started by tracing around a trouser block, or in my case a long short pattern block thing? this already had a 1cm seam allowance so I drew that in.


After that I drew my design lines, about 4cm below the seam and then I added a 1cm seam allowance on the end of that I also drew in the darts and added the grain line.


I then traced over my first draft up to my design lines with the 1cm seam allowance and then I cut these out, as I used an elastic waist band I scribled the darts out and then I had my finished lining patterns.


Then I traced over my first draft on another piece of paper without the seam allowance, I also shortened the patterns as the first draft were a bit too long. I then divided the pattern pieced into 3 equal sections and labeled each piece 1,2,3,4,5 and 6 and cut these out.

 
I took a new piece of paper and drew a line some where in the middle from one end of the paper to the other. I then placed th epieces in order 6cm distance from each other matching the hipline to the line I drew before, then I taped these down and filled in the gaps.


I traced over my adapted pieces and added a 1cm seam allowance and grain line and then cut these out and I had finished my patterns.

I then did a lay plan to see how much fabric I needed, I found that I needed 1 1/2m of fabric, So I got my fabric and then pinned down my patterns and cut them out.


I started with my lining pieces and sewed the 2 fronts together and 2 backs together down the curved seam and then I presses the seams open. I then placed the fromt and back pieces right together and sewed down the sides. 


I then sewed the pieces together at the crotch and pressed the seam open.

I then did exactly the same with the outer pieces.

 
After that I gathered the waist on the outer piece to match the width of the lining fabric and the same with the leg holes.

 
My pieces didn't match at the leg holes, to fix this I lined the patterns together and cut off the extra, then I cut off the extra on the fabric.

 
 I then sewed the shorts to the lining at the leg holes, this is was very confusing and I did have to un pick one leg and cut my self in the process, to do this I basically put the shorts together how they would be if they were sewn together and then turned them so that I could sew them.


 After that I sewed the lining and the outer shell together at the waist.


 Then I sewed on the waist band which was just an elastic, to do this I sewed the ends together and pinned the elastic whilst stretching it to pin it I then overlocked the elastic to the shorts making sure the edge of the fabric was almost touching the blade. When I did this I should have stretched the elastic a bit more.


I then tried them on and found that they would look better if the seam from the elastic was stitched on top to give a nicer finish, so I top stitched making sure I cought the seam undernieth whilst stretching the fabric.
I also unpicked the gathering as that was all in place and the stitched wern't needed.


So here is the lovely Alycia modeling the finished product for me as they didnt fit on the mannequin! 

 If I make these again I will use a longer elastic as this was all we had, I would also like to try a different techniqe with adding the waist band.
If I make these to wear I will probabily make them with a little bit less volume to make them slightly more wearable.


I think I would like to make them again from this fabric ^^  but im not quite sure yet.

Thanks for reading!! I hope you liked this post!

What fabric do you think I should use??

Jenny xxx

Related Posts Plugin for WordPress, Blogger...