
For our second project in college we created a pattern and manufactured maxi skirts. To start this I used my skirt block and adapted it to create extra flare, invisible zip on one side and a waist band. This skirt was also cut on the bias which made it stretch and flute out at the hem.


The photo on the left are the adapted skirt pattern pieces I used to create flare. These were quite fiddly because they were long but they were easy to adapt. To create the flare I traced around my skirt block and divided it into three sections coming from the darts. I then slashed up the lines and closed the darts. This automatically spread out the pattern as seen in the picture. I then added an extra 2.5cm flare to the hem line at the side and joined that line to the hip. Below shows the final skirt pattern with a 1.5cm seam allowance and the waist band pattern which was very simple. To create the waist band I took a measurement from the waist of the skirt pattern and doubled this. I then added 4cm for the button stand and a seam allowance of 1.5cm all the way around. For the depth I decided on 4cm and doubled that hight wise so it was folded at the top.
 |
| This shows the two back pieces sewed together |
 |
| This shows topstitching |
Unfortunately my fabric wasn't wide enough. To problem solve this I had to add a front seam and a back seam, so I had four pieces instead of two and I had to sew a topstitch on the front and back seam to finish the seam. Next time I will definately double check the width of my fabric.

Also because my fabric wasn't widenough the last pattern piece wouldnt fit on the fabric so I had to sew an extra triangular piece on to the bottom of the skirt pattern as shown in the image above. Once I had my whole front and back piece I inserted a concealed zip into the left side seam. I then closed up the right seam with a 1.5cm seam allowance.
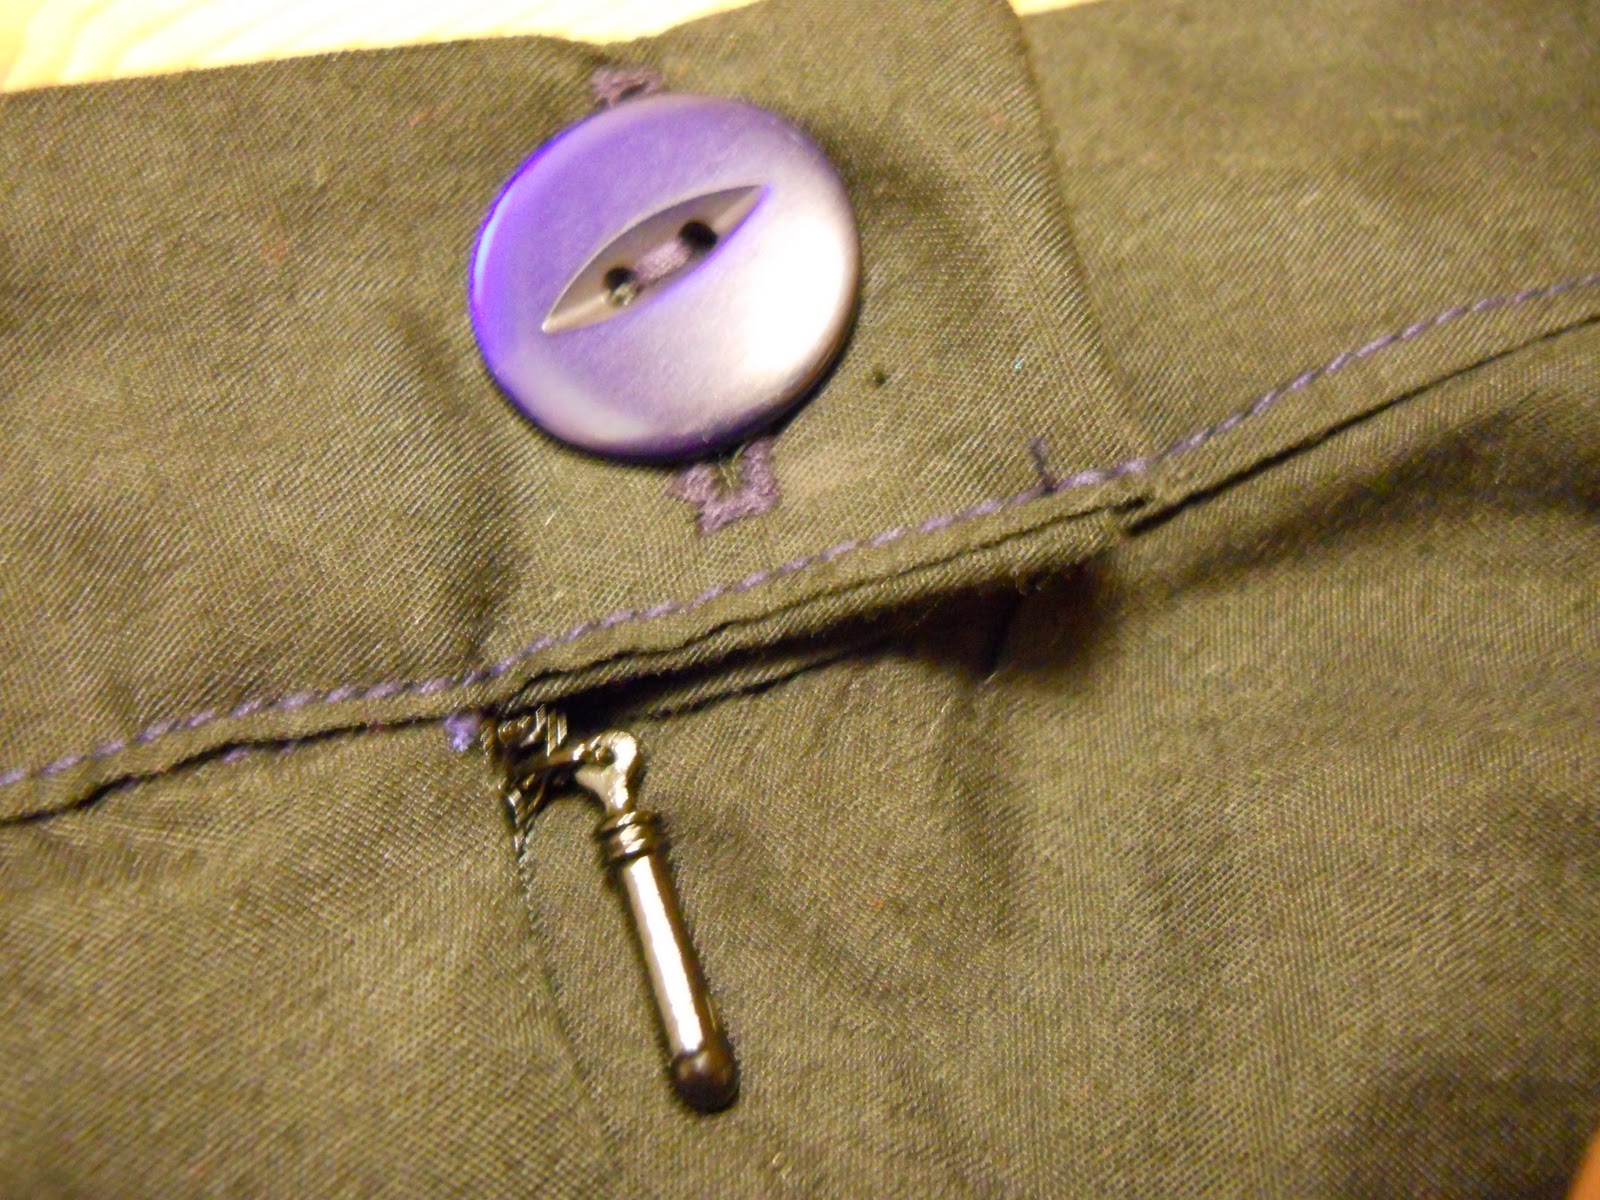
 The last step was to sew a button hole and button on to the waist band, I had some trouble with the machine but after a fiew practices it worked fine.
The last step was to hem which I found difficult due to the fabric slipping and being cut on the bias. I ironed up the hem 0.5cm, I then repeated this to conceal any overlocking/raw edges. I finished this by topstitching down. I learnt that its difficult to hem on a circular skirt compared to a straight skirt.
This is the finished skirt in the photo on the left, I think that this skirt was alot easier and simple to make compared to the military skirt in the previous blog as there are no pleats. I also perfer this skirt to the previous one as it's a lot less structured and it drapes really nicely.
I really enjoyed making this skirt and I hope you like it, Thanks for reading.
Jenny xxx
3 comments:
Es una bello blog el tuyo. Ya que compartimos el mismo interés sobre la costura de ropa te invito a pasar por el mìo donde quizás encuentres tutoriales interesantes. Saludos de una venezolana en Chile.
So cool, your so talented!
it came out right!! :) XX jannine
http://fashionistarg.blogspot.com
Post a Comment