Showing posts with label fashion. Show all posts

Thursday, 4 July 2013

Im Freee!!!

 
So this post is quite late, I apologise! However I have finally finished college forever and am enjoying my freedom, until September when I start uni.
 
I thought I would post the pictures of my final garments on the catwalk so you could see them, over all I'm really happy with my collection and I actually really like what I have made this year!!
 
On the cat walk:


Back stage:


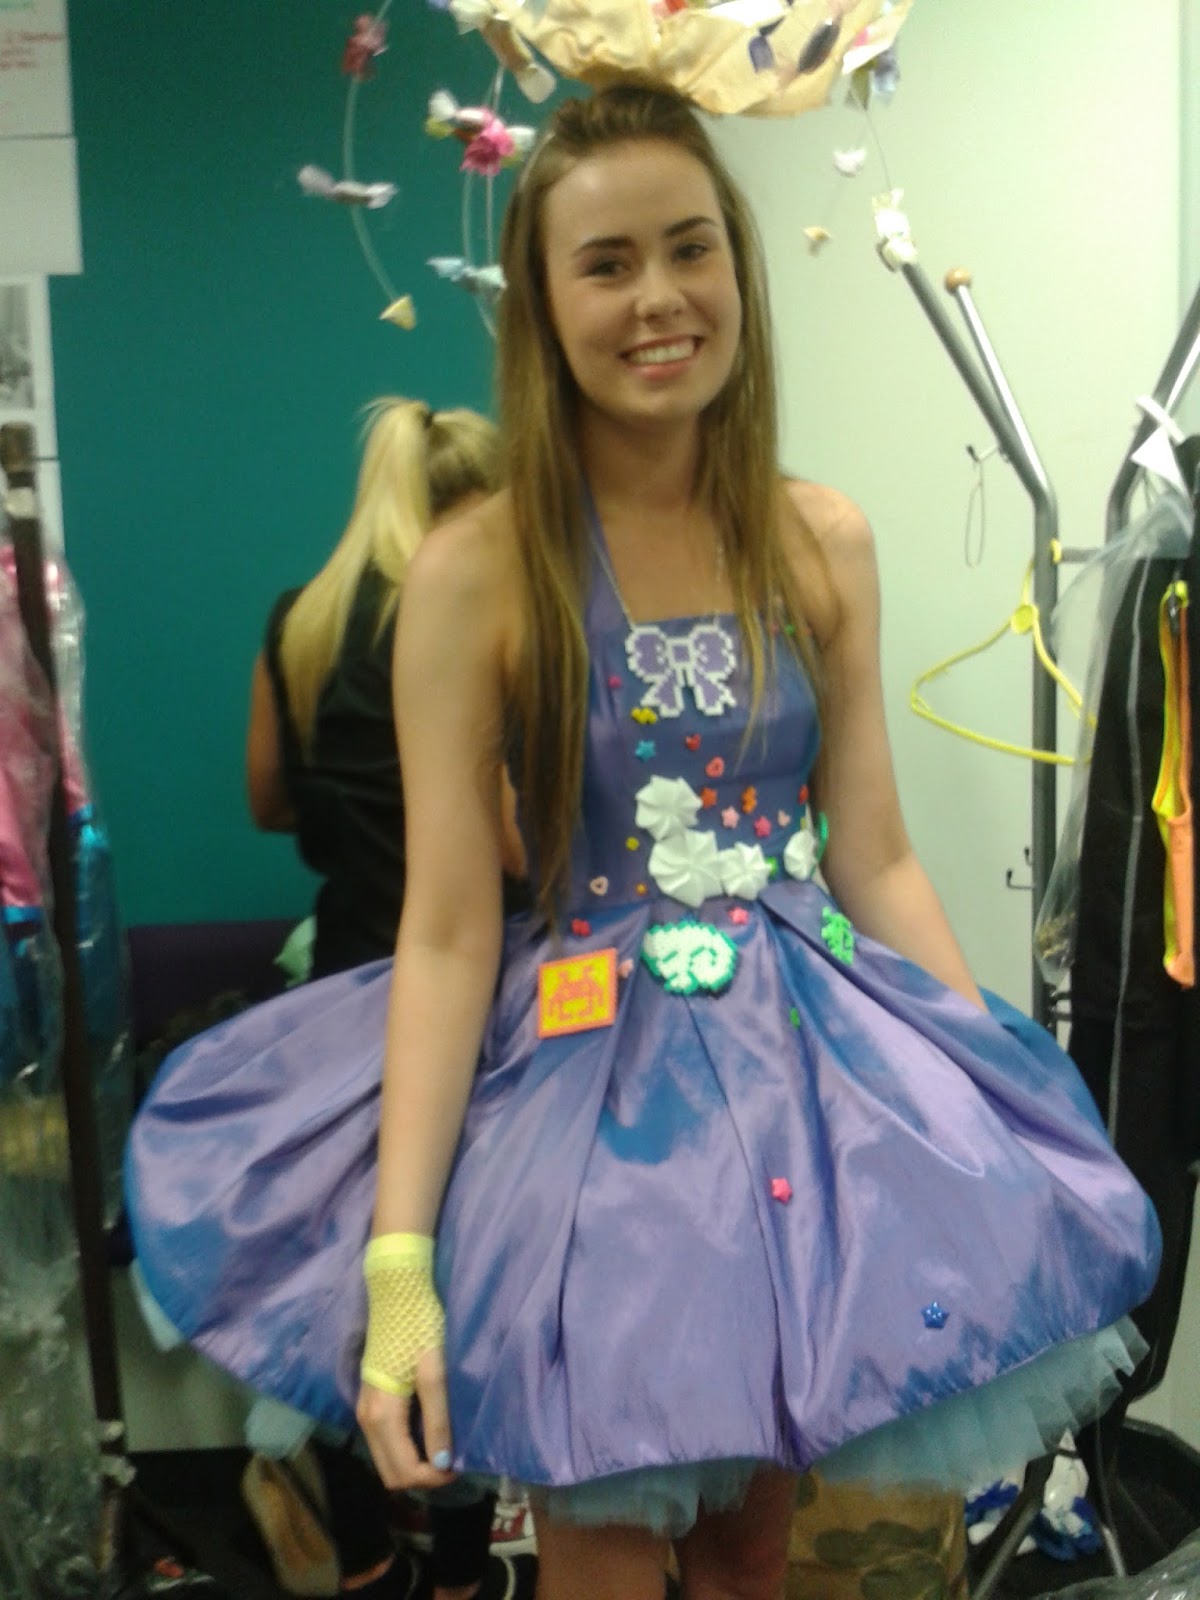
I think my favourite outfits were the purple dress and pacman but I love them all and I'm really proud of what I have achieved this year!! I made everything in my collection apart from the footwear, wrist warmers and the pink bunny ears and the sweat hat which was made by our lovely teaching assistant Trish!
And thank you to my beautiful models for modelling!!


Here are my friends that came to watch, thanks for coming guys!!!

 
And to conclude this post here's Jess in Trisha's hat, overall Ive enjoyed the college experience and made some great friends and I'm proud that I have finished the course with what I think my grades where DDD* which I'm extremely happy with as I was predicted MMM,
In your face predicted results!!
 
My mums friends daughter is also joining the course next year so that will be interesting look out Nic and Bruce another Asian kid!
 
Thanks for reading!!
 
What do you think of my final collection??
 
This summer I'm going to be making a lot of clothes, I already made 4 from my list so I will be posting those as I make them and Ill also have a holiday to Thailand to share with you guys!!!
 
What are you all doing this summer??
 
Jenny xxx


Monday, 17 June 2013

Making my mint dress


 For this dress I followed my toile however I had two layers of this dress so I ensured the seams were all in neatly, I also added a lining to the bodice. I also sewed the hem using a special foot that turns under the fabric whils you sew.


Thanks for reading!!
 
Jenny xxx

Making my white blouse


 I also followed the toile for this, for the bias binding I sewed it on normally and then turned it over once more for a smoother look.
 
 
For the slit I took the raw edges and turned them over twice and sewed, I also did the same for the hem.


Thanks for reading!!
 
Jenny xxx
 

Making my Lantern skirt


 My lantern skirt came out alot shorter than expected as the fabric I used was blind fabric and was very thick and stiff so it curved more than expected.
 

Once the main shape was sewn I paint splatted the base using slightly watered down fabric paint, I think this has worked really well however I think I should have used some blue.


For the waist band I took the models waist measurement and sewed this on using the same method as the pacman skirt, I also sewed hooks and eyes at the top.
 
 
Thanks for reading!!
 
Jenny xxx


Making my purple dress

 
For my purple dress I followed my toile and added a halterneck strap to do that I drew out the shape that I wanted and used that as a pattern, I added 1cm SA and cut it out, i then sewed the pieces together and bagged it out and pressed. I also sewed the hem using a special foot that tucks the edge under for you.


Here I have only pinned the strap to the dress incase it doesnt fit when I go to fit my model.


Thanks for reading!!
Jenny xxx

Making my ice cream shirt


Again for my ice cream shirt I followed my toile and also made sure that I sewed the outer puff into the seam so it wasn't visible, I also added a lining to the bodice.


I also made sure the lining was hiding the seams.

Thanks for reading!!
 
Jenny xxx

Making my Pacman skirt

Making my pacman skirt I followed the same procedures as my toile however I interfaced the whole skirt to make the fabric thicker and more sturdy.
 

I also then appliqued eyes on to the front evenly spaced.
For the hem I had to sew the bottom of the binding on and then I had to hand tack the top as the fabric was stretching when I used the sewing machine.

 
After I finished sewing I glued mini cabochons to the hem to add more detail.
 
Thanks for reading!!
Jenny xxx

Sunday, 16 June 2013

Purple dress toile


Here is how I made the toile for my purple dress.


For this dress I used the same bodice pattern as my bow dress, and sewed together. however for this dress I left the side open.
 
 
to create the skirt pattern I drew a rectangle the length of the skirt of my dress and left one side open as I was creating pleats, I decided to double pleat this as it would give it more volume. I drew the first section as a cut on the fold as was about 3cm wide I then sectioned of the next part double that (6cm) and repeated this about 11 times, I then added 1cm SA and cut this out.
 
 
After that I cut it out of the fabric and then sewed one seam to gether and pressed. 


I then pleated the skirt but doubled to create more volume and ironed in place.


 I then tacked the pleats to keep them in place.


I then pinned the skirt to the mannequin and saw it was too big, I wend back and placed the pleates so they were closer together and that fixed the problem.
 
I then sewed the bodice to the skirt the same as my bow dress and then attatched a concealed zip at the right side seam.
 
Thanks for reading!!
 
Jenny xxx


Bow dress toile

 
Here I used my bodice block from the Ice cream shirt, I removed the darts completely and turned them into 4 panels two front and two back with a 1cm SA.
 
 
For the skirt I drew a right angle to create a quarter of my circle skirt, I had to calculate the waist measurement, however I was told it is usually 12cm for a size 12 block (roughly a British size 10) but as the skirt was a double circle skirt to create more volume, I halved this.
The correct way to find this measurement can be found on many websites however I am far too confused to go through them once I find a decent explanation I will make another post on making a circle skirt.
 
I then tied some string to a pencil measured my waist measurement and held this at the centre point of the rectangle, I then drew the circle and also added a 1cm SA.
 
I then measured how long I wanted my skirt and marked this on the line I then put the string that length and drew the curved hem and added 1cm SA.
 
 
I then added a 1cm SA on one side and left the other as it will be cut on the fold.
 

I then cut this out of my fabric 4 times trying to save as much waste fabric as possible.


After cut out I sewed them together leaving only one seam open.

 
For the last seam I sewed up half way leaving room for the zip.


For the bodice I cut my pattern pieces out of my fabric.

 
I then sewed them together leaving the back seam open for the zip.


After I sewed the bodice I attached that to the waist of the skirt wrong sides together.


I then attached a concealed zip to the centre back of my dress.


there was a gap where the seams matches as there was a bit of bulk in this area.


for the gathered front I traced over the front bodice I used for the icecream shirt and extended this to about 60cm
 
I then gathered this piece and then sewed it on to the side seams, for the final I will sew this into the seam.


 And that is my toile completed! Thanks for reading!!
 
Jenny xxx


Related Posts Plugin for WordPress, Blogger...